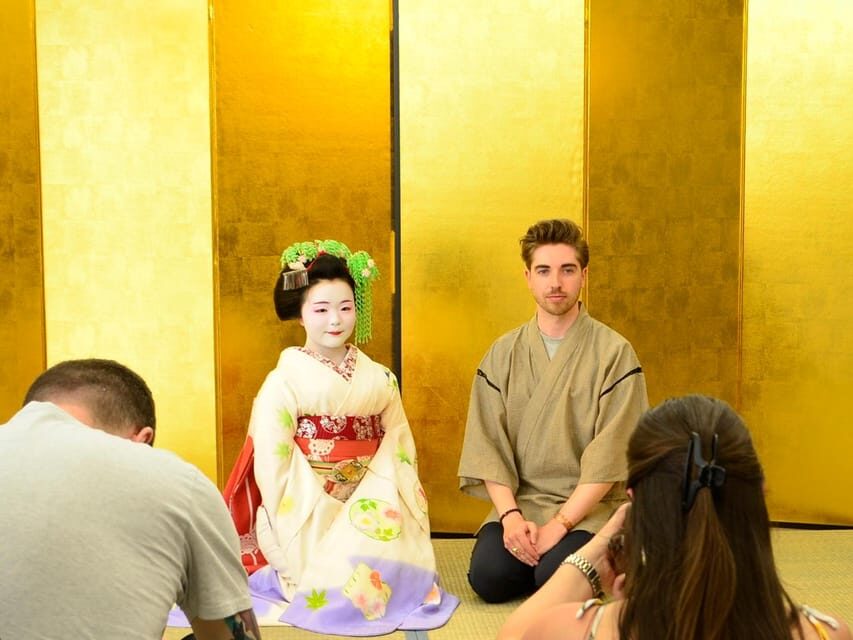
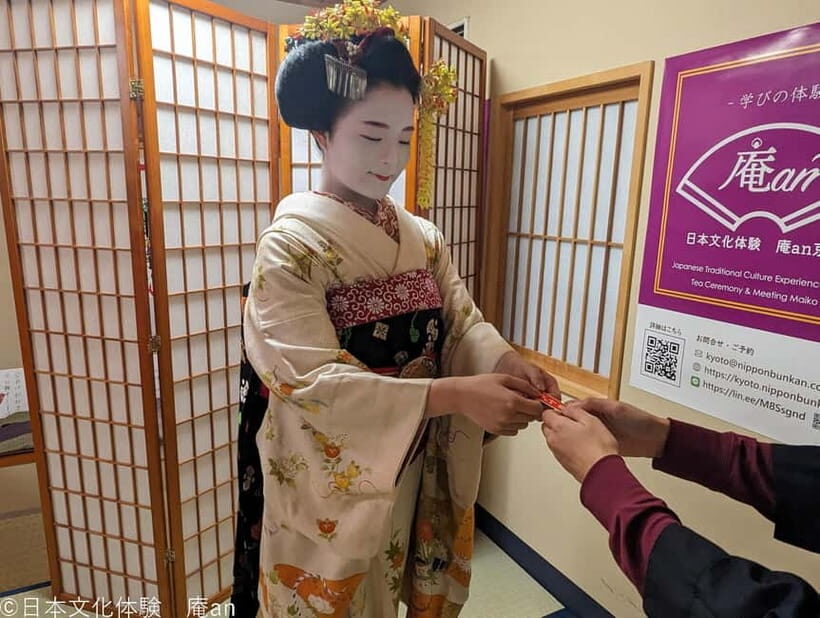
REVIEW · KIMONO RENTAL & PHOTOSHOOT
Kyoto Private Photoshoot Experience with a Professional Photographer
Book on Viator →Operated by Japan Guide Agency · Bookable on Viator
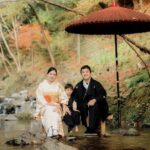
Kyoto streets, camera clicks, and real keepsakes. I like that this is private, so you’re not squeezing into someone else’s plan, and I also like that you get digital edited images after the session. The only real catch: entrance fees for you (and for your photographer) aren’t included, so a couple stops may cost extra.
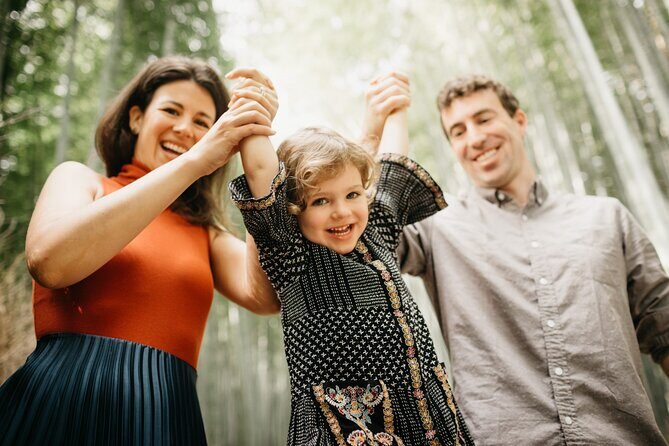
What makes this experience feel practical is the pacing. You’ll shoot for about an hour, guided between key Kyoto landmarks, then you’re released to explore the rest of the day on your own. It’s especially handy if you’re traveling with kids or you want more than the usual “everyone stand here and say cheese” setup.
For value, the price works best when you treat it like a group souvenir. It’s $289.39 per group (up to 10), and it’s typically booked about 40 days in advance. If you’re traveling solo and mainly want one or two quick photos, you may want to price out other options first.
In This Review
- Key points to know before you book
- Why a private Kyoto photoshoot works better than DIY
- Price and value: $289.39 for a group of up to 10
- What you get from a local professional photographer
- The 1-hour Kyoto route: what each stop adds (and what to watch for)
- Stop 1: Arashiyama Kimono Forest (Tenryu-ji + Bamboo Grove area)
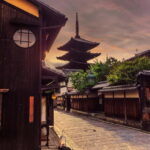
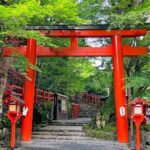
- Stop 2: Kiyomizu-dera Temple area (historic streets)
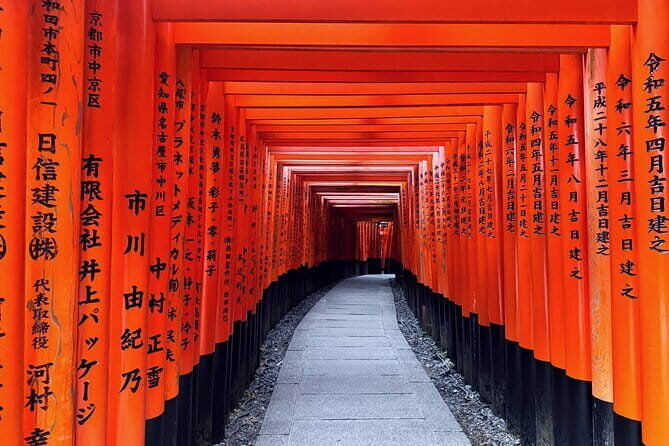
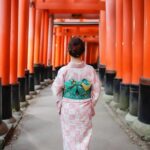
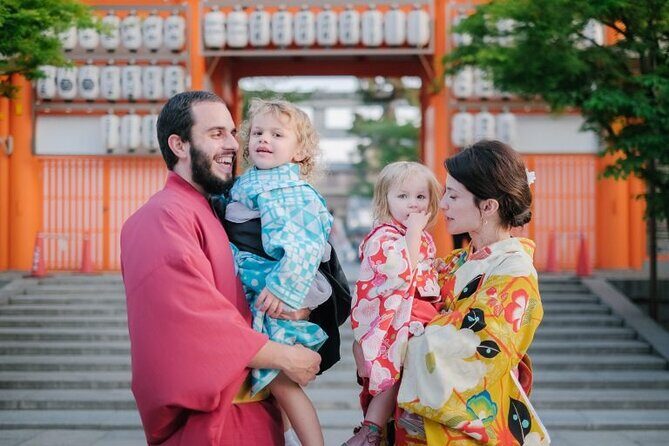
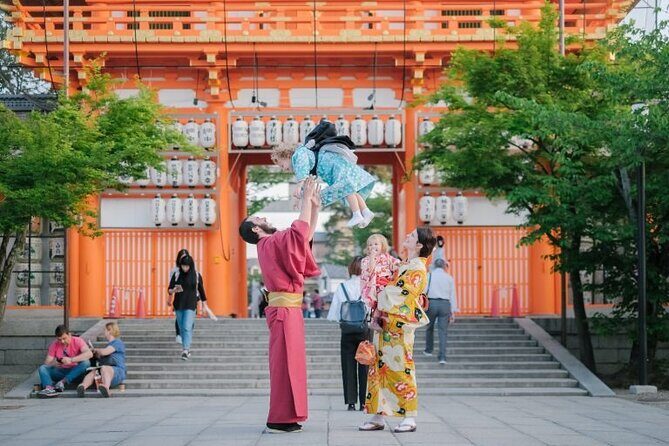
- Stop 3: Fushimi Inari-taisha Shrine (the vermillion torii path)
- Stop 4: Gion (Kyoto’s geisha district streets)
- Stop 5: Kennin-ji Temple (dry landscape garden-style views)
- How to get the best results from a short shoot
- Edited photos you can share soon after
- Who should book this Kyoto private photoshoot?
- Should you book this Kyoto private photoshoot?
- FAQ
- How long is the Kyoto private photoshoot?
- How many people can be in a group?
- What do I receive after the session?
- Is hotel pickup included?
- Are entrance fees included for the temples and shrines?
- Is this a private experience?
- What is the cancellation policy?
- Final thought
Key points to know before you book
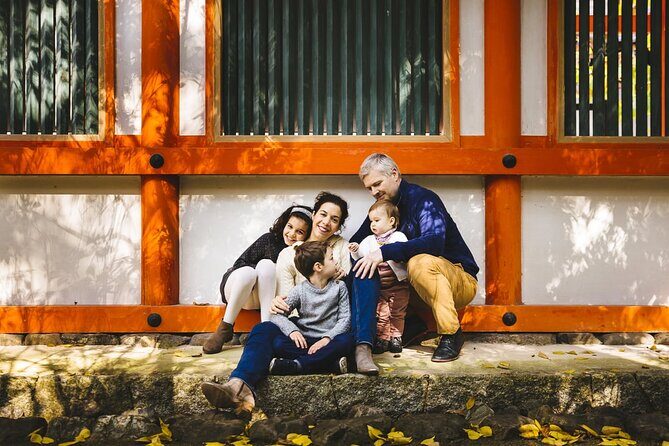
- Up to 10 people per private group means families and friend groups can split the cost
- About an hour of shooting keeps the rest of your Kyoto day free
- Digital edited images after the session gives you share-ready souvenirs
- Kyoto history while you photograph helps you feel the place, not just pose in it
- Popular backdrops in one route (Arashiyama, Kiyomizu-dera area, Fushimi Inari, Gion) save you planning time
- Entrance fees aren’t included at some stops, so budget a bit extra
Why a private Kyoto photoshoot works better than DIY
Kyoto is gorgeous, but it’s not always easy to get great photos. Crowds move, light changes fast, and everyone ends up standing at the same photo spot, hoping for the best. A private session solves the biggest problem: you get someone who can read the scene and help your group look natural without wasting time.
I like that your photographer isn’t just “taking pictures.” They’re choosing spots around the day’s flow and guiding you so you end up with photos that feel like Kyoto, not like a missed opportunity. You also get a history thread while you’re out there, so the images come with context you’ll actually remember.
The pacing is the other win. You’re out for roughly an hour, which means you won’t lose your whole day to a photo block. After the shoot, you can roam—slowly, at your own pace—without feeling like you’re rushing to hit another attraction.
You can also read our reviews of more private tours in Kyoto


Price and value: $289.39 for a group of up to 10
Let’s talk money in a way that helps you decide.
This experience is priced at $289.39 per group (up to 10). So the real value depends on how many people you bring. If you’re a family of four, you’re basically buying professional photo direction for a price that often beats trying to get a photographer for every person separately. If you’re a group of friends, it can be even easier to justify.
Two things can affect the final cost:
- Entrance fees aren’t included for you and your photographer, and at least one major temple area is marked as not included.
- Some locations may offer free entry, which helps keep the overall add-ons down—but you should still expect a small extra budget for the paid stops.
One more practical note: it’s commonly booked about 40 days in advance. That’s a good sign (good demand, limited slots, at peak photo times). If your trip dates are set, booking earlier is how you avoid schedule stress.
What you get from a local professional photographer
This isn’t a canned experience where you hold a pose for 60 minutes. You’re getting local professional photography support plus a plan for where to stand, how to group, and how to make the background work for you.
Here’s what that usually means in real life:
- Faster, better framing. You’re not wandering around looking for “the right angle.”
- More natural group photos. Instead of everyone stiffly facing a camera, you get simple direction that helps kids and adults cooperate.
- Kyoto backdrops that match the mood of each area—temples, shrines, and iconic scenery.
After the session, you’ll receive digital edited images for online sharing. That’s important because it turns the photos into something you can use right away—show friends, save to your gallery, and actually enjoy them while the trip is still fresh.
The 1-hour Kyoto route: what each stop adds (and what to watch for)
The experience is structured as a short route across multiple famous areas. Each stop is brief, so the goal is not to tour every temple in depth—it’s to use the place as a backdrop while a guide/photographer helps you get the shot.
You’ll see five main areas, with time estimates built into the flow:
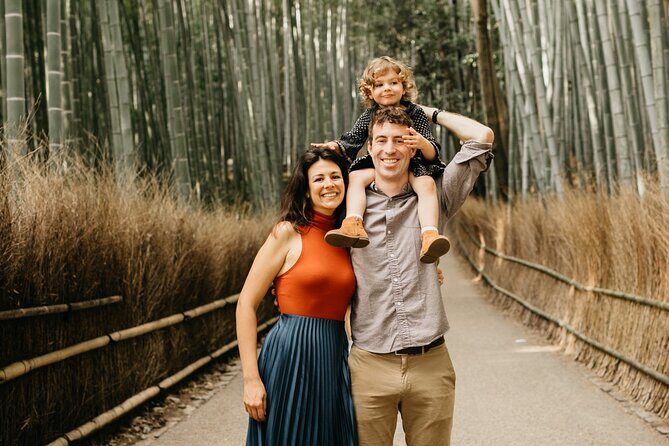
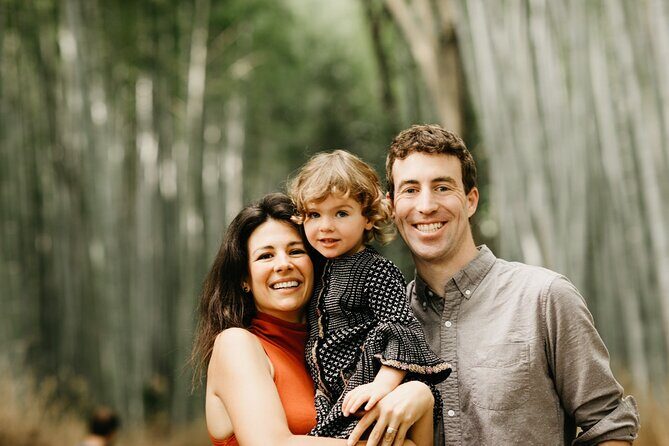
Stop 1: Arashiyama Kimono Forest (Tenryu-ji + Bamboo Grove area)
You start with garden views at Tenryu-ji Temple, then move toward the Bamboo Grove. Even if you’ve seen bamboo photos online, the key difference here is timing and direction—getting your group positioned where the scene looks intentional.
Why it’s worth it:
- The bamboo area creates that classic Kyoto look instantly.
- Tenryu-ji’s gardens add depth so your photos don’t feel flat.
What to consider:
- Since it’s only about a 10-minute stop, you’ll want to be ready to move. If you want long temple wandering and slow photos, this route may feel fast.
You can also read our reviews of more photography tours in Kyoto


Stop 2: Kiyomizu-dera Temple area (historic streets)
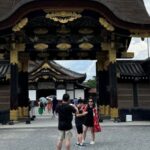
Next is the Kiyomizu-dera area, described as one of Japan’s best-preserved historic districts. This is the “Kyoto streets” moment—traditional lanes and a vibe that looks great in photos even when the group is moving.
Why it’s worth it:
- The streets give you texture: railings, stone, wood, and layered backgrounds.
- It’s a natural place for family photos because the setting looks good even if kids shift position.
What to watch:
- Entrance fees are not included here. So plan for possible extra cost for you and your photographer.
- The historic district can get busy, so be prepared for some crowd energy.
Optional extension note (from the experience structure): longer bookings can roll into more nature time like Maruyama Park during spring cherry blossom or fall color seasons. If you’re only doing the standard timing, you’ll stay focused on the core route.
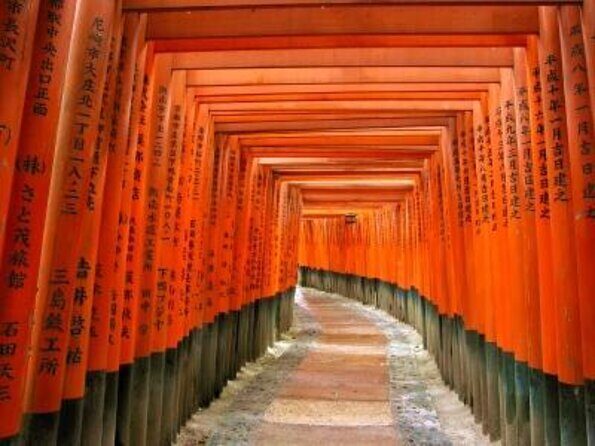
Stop 3: Fushimi Inari-taisha Shrine (the vermillion torii path)
Then you hit the famous Fushimi Inari-taisha Shrine, known for thousands of vermillion gates forming a path up the hillside.
Why you’ll love this in photos:
- It’s instantly recognizable, even in one frame.
- The repeating torii gates create depth, so your group doesn’t look swallowed by the background.
What to consider:
- Because it’s one of Japan’s most visited shrines, it can be crowded. The value of this being private is that you’re not stuck waiting for your turn in the exact worst spot.
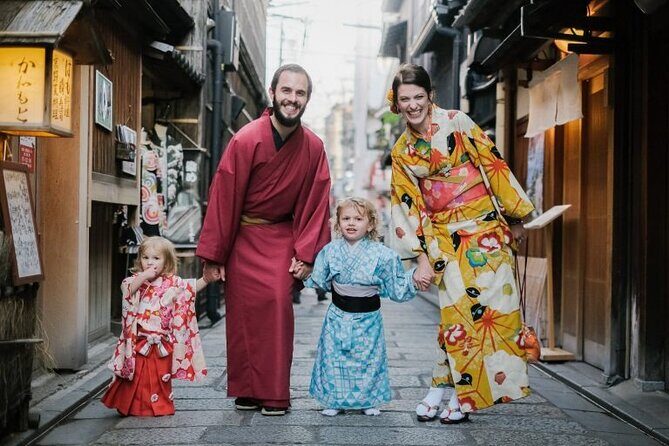
Stop 4: Gion (Kyoto’s geisha district streets)
After Fushimi Inari, you head to Gion, Kyoto’s famed geisha district.
Why this works well for a keepsake:
- Gion’s streets and historic atmosphere help your photos feel like Kyoto, not just “pretty Japan scenery.”
- This is a strong choice for group shots because the setting gives you a sense of place even if people aren’t all perfectly posed.
What to watch:
- If your goal is purely temple-level sightseeing, remember this is a short photo-focused session. You’re getting the photo moment, not a full guided stroll tour.
Another seasonal note: longer bookings can allow time in Maruyama Park for cherry blossoms (spring) or bright fall colors. If your dates line up with those seasons, that’s when longer versions can feel extra rewarding.
Stop 5: Kennin-ji Temple (dry landscape garden-style views)
You wrap at Kennin-ji Temple, located near the lively areas around Hanamikoji and Shijo streets. The grounds are described as expansive, pleasant to walk, and featuring two karesansui (dry landscape gardens).
Why it’s a good ending:
- The dry garden style tends to look striking in still photos, especially when your photographer has you placed with good negative space.
- Ending near the bustle gives you a nice contrast: calm temple grounds then lively Kyoto streets.
What to consider:
- This stop is only about 5 minutes. If you’re the type who loves slow garden viewing, you might want to return later on your own for a deeper look.
How to get the best results from a short shoot
Because the session is about an hour total, your “success” depends on keeping things easy and moving. Here are practical ways to help your photos come out looking like you hired a pro (because you did):
- Wear shoes you’re comfortable walking in. The route moves through multiple areas, and the time at each stop is short.
- Choose outfits that photograph well in both bright and shaded areas. Temple and shrine areas often give you mixed light.
- Have your group decide on photo styles before you arrive. For example: one family line-up shot, one kid-centered shot, one couple or friend shot.
- If you’re bringing kids, plan for a little natural motion. With a pro directing, you don’t need stiff poses. Just keep everyone oriented and ready when the photographer calls the shot.
Also, remember: this is a photo experience, not a full museum day. If you try to treat it like a sightseeing tour, you’ll feel rushed. Let it do what it does best—produce the best possible souvenir photos—then enjoy the rest of the day freely.
Edited photos you can share soon after
This is one of the most meaningful parts of the package. You’ll receive digital edited images after the session for online sharing.
What I like about that:
- It saves you from hunting for “good enough” shots. Editing helps smooth the visual mess that can happen in busy places and changing light.
- The souvenir is usable. You’re not stuck with a disk of blurry originals.
One thing to be realistic about: the session is short, so your photographer’s job is to pick the best frames and angles quickly. Your job is to show up ready to shoot and follow direction so you capture the variety that makes editing worthwhile.
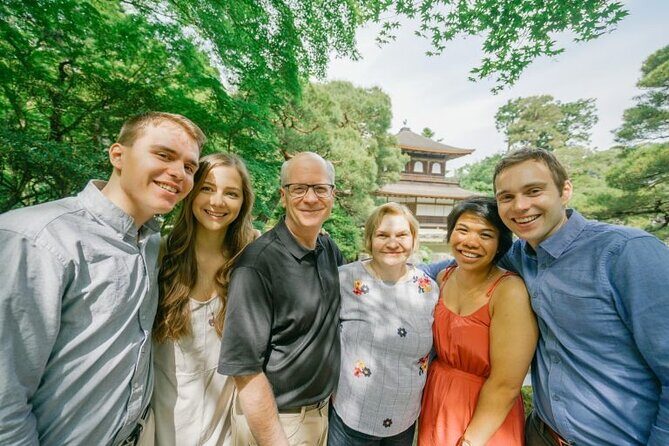
Who should book this Kyoto private photoshoot?
This experience is a great fit if:
- You’re traveling with kids and want professional group photos without the stress of wrangling everyone alone.
- You have a family or friend group and want one coordinated souvenir rather than separate selfies.
- You want to see multiple top Kyoto icons in one day without dedicating hours to photo planning.
- You’d rather buy time and guidance than spend your vacation figuring out the best angles yourself.
It may not be the best choice if:
- You’re traveling solo and only care about one or two quick photos.
- You hate the idea of paying additional entrance fees at certain stops.
- You’re hoping for a deep, slow, temple-by-temple tour. This is built for photo capture first.
Should you book this Kyoto private photoshoot?
I’d book it if you value professional direction and you want your Kyoto memories to look intentional. The hour-long format is smart: you get standout locations across Kyoto, then you get the rest of your day back for wandering, eating, and discovering places off your photo route.
The main reason to pause is cost creep from entrance fees at paid sites, plus the reality that each stop is brief. If you’re okay with that trade—pay a bit more for quality and convenience—you’ll likely come away happy because the whole setup is designed for one thing: getting your group photographed well.
If you’re deciding between DIY and hiring help, this is the middle ground that feels fair. You’re not buying a full-day tour. You’re buying the best possible version of group photos, in iconic Kyoto scenery, with editing afterward.
FAQ
How long is the Kyoto private photoshoot?
It runs for about 1 hour (approx.).
How many people can be in a group?
The price is per group for up to 10 people.
What do I receive after the session?
You’ll receive digital edited images for online sharing after the photoshoot.
Is hotel pickup included?
No, hotel pickup and drop-off are not included.
Are entrance fees included for the temples and shrines?
No. Entrance fees are not included for you and for your photographer.
Is this a private experience?
Yes. It’s a private tour/activity, and only your group participates.
What is the cancellation policy?
You can cancel for a full refund with free cancellation up to 24 hours in advance of the experience start time.
Final thought
If you want Kyoto photos that look like more than luck—especially with kids or a bigger group—this private, edited-photo setup is a solid way to buy back time and reduce stress. Just budget for entrance fees at the paid stops and treat the hour as a photo sprint, then enjoy the rest of Kyoto at your own speed.