REVIEW · PHOTOGRAPHY SESSIONS
Kyoto Photography Masterclass – Private Photography Lesson
Book on Viator →Operated by Aperture Tours · Bookable on Viator
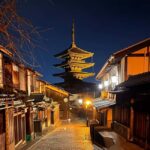
Kyoto at night changes when you have a plan. This private photo masterclass guides you through classic streets and temple scenes with real instruction, not generic sightseeing. You’ll get hands-on teaching on camera settings and composition, plus local eyes for where the light actually lands.
I like that the lesson is built around night photography challenges, including long exposure techniques and how to make the results feel like a story, not just a bright picture. I also love the pacing of a private format, because you can slow down for the shot you want instead of getting pushed along.
One thing to keep in mind: the camera isn’t included, and while a tripod is available upon request, you should plan to use your own gear (or ask early if you want help with tripod use).
In This Review
- Key takeaways before you go
- Street-to-night teaching: how this Kyoto lesson really works
- Price and what you actually get for $170
- The route in 3 hours: Gion, Pontocho, shrine stops, then Kiyomizudera
- The main photographic challenge: night exposure discipline
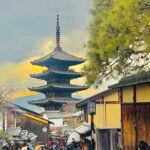
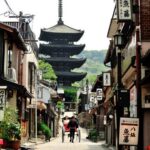
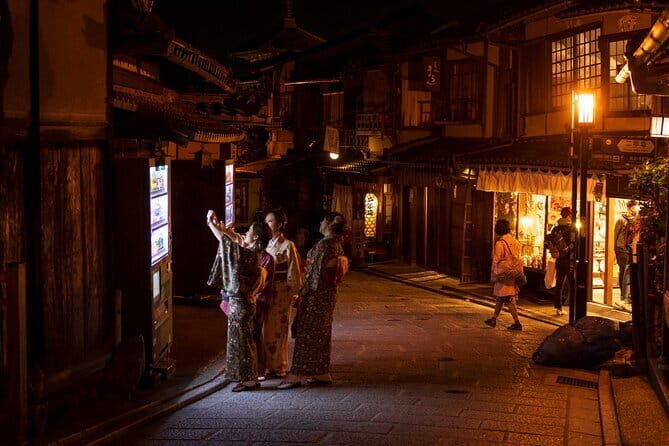
- Gion photo time: machiya textures and classic street angles
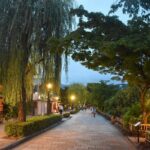
- Pontocho District and the lantern glow you came for
- Gion Corner and Minamiza Theater: finding strong night subjects
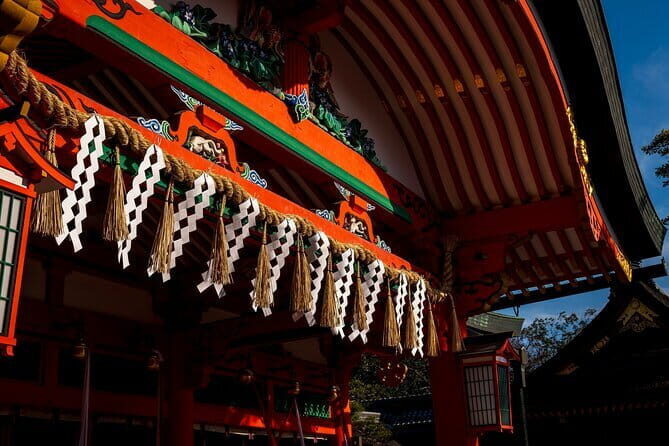
- Yasaka Shrine and Hokan-ji Temple: photographing sacred architecture after dark
- Koju Ninenzaka and the approach-street feel
- Kiyomizudera Temple lit against the night sky
- Camera settings, composition, and the feedback loop that makes you better
- Tripod and gear: what to bring (and what to ask for)
- Where you start: the Izumo-no-Okuni meeting point
- Who this Kyoto night photography masterclass is best for
- Should you book this Kyoto Photography Masterclass?
- FAQ
- How long is the Kyoto Photography Masterclass?
- Is this a private tour?
- Where is the meeting point, and where does the tour end?
- Does the price include a camera or a tripod?
- Will we focus on night photography?
- Is there an English-speaking guide?
- What is the cancellation policy?
Key takeaways before you go
- Private, 3-hour coaching focused on what your camera can do in Kyoto’s night light
- Night-photo technique practice with long exposure guidance and patience while you reset
- Curated stops in eastern Kyoto, including Gion, Pontocho, Yasaka Shrine, and Kiyomizudera
- Professional photographer instruction plus a licensed English-speaking local guide
- Tripod support on request, which matters a lot for stable long exposures
- Mobile ticket and a route that finishes back at the start point
Street-to-night teaching: how this Kyoto lesson really works
This masterclass is structured like a hands-on workshop, not a casual walk with a friendly camera talk. You’ll start moving through Kyoto’s classic districts and end in temple-lit territory, using each stop to practice a specific skill.
The big idea is simple: you don’t just point your lens at landmarks. You learn how to control the look. During the session, you’ll get personalised education on camera settings and composition so you can recreate the result later, even when the scene changes. That’s what makes a private class feel different from watching videos back home.
And because it’s private, the photographer can adjust the plan to your pace and level. If you’re comfortable with manual controls, you’ll likely be nudged toward sharper, more intentional decisions. If you’re newer, you’ll get clearer guidance on what to change and why, shot by shot.
You can also read our reviews of more private tours in Kyoto
Price and what you actually get for $170
At $170 per person for about three hours, this isn’t a “cheap group tour” style experience. You’re paying for two things that are hard to replace on your own:
- A pro guiding your camera decisions in real time
- A tailored route through the exact kinds of night scenes you want to photograph
There’s also a practical value angle: you’re covering multiple high-impact areas in a single session, so you’re not spending the night just figuring out where to go. The local guide component matters too. A licensed English-speaking local guide can help you move efficiently between stops and keep you grounded in the context while the photographer focuses on your shots.
If you can bring a friend, check whether the available group discounts apply, since the listing includes that feature. Even with one person, the private format is the core value—your time stays yours.
The route in 3 hours: Gion, Pontocho, shrine stops, then Kiyomizudera
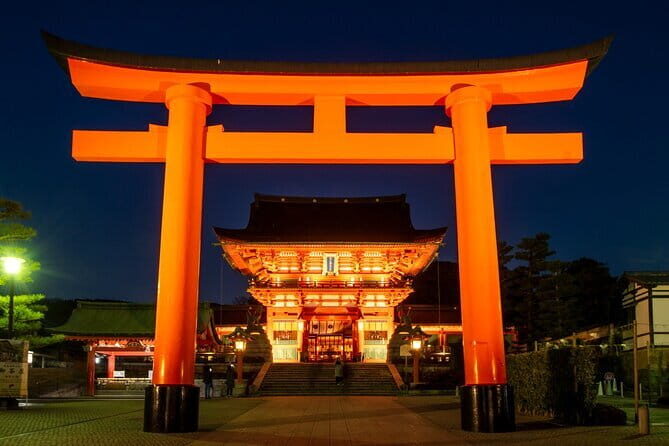
The route is built around two moods: traditional Kyoto streets in the evening and illuminated sacred architecture. The stops are:
- Gion
- Pontocho District
- Gion Corner
- Minamiza Theater
- Yasaka Shrine
- Hokan-ji Temple
- Koju Ninenzaka
- Kiyomizudera Temple
You’ll start back at the meeting point and finish there too. That makes the timing easier, especially at night when you want the route to feel predictable.
The main photographic challenge: night exposure discipline
Night photos can go two ways: either everything is blurred and noisy, or it’s too bright and looks flat. This masterclass keeps you focused on the key balancing act—especially with long exposure. You’ll learn how to manage the “slow” side of night photography so light streaks, lantern glow, and architectural highlights look controlled rather than chaotic.
Gion photo time: machiya textures and classic street angles
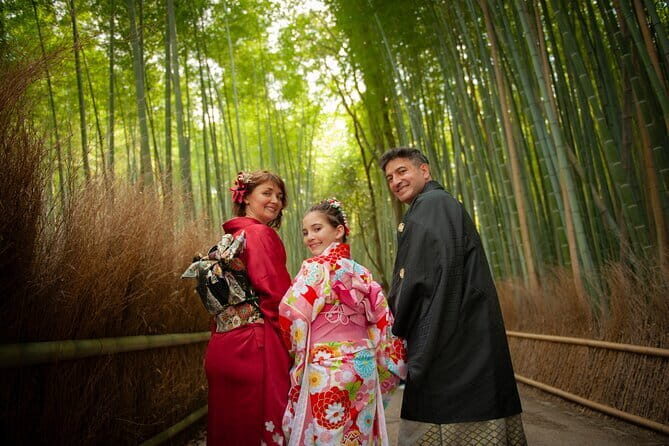
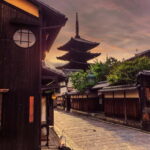
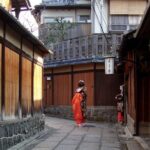
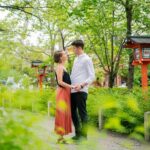
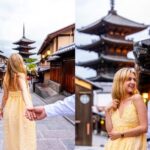
Gion is where Kyoto most clearly signals its traditional identity, and this lesson uses that. You’ll photograph the historic Gion district with attention to textures and the way tradition and modern life share the same frame.
What I think you’ll appreciate here is the teaching approach. Instead of only chasing the obvious postcard view, you’ll work on composition choices: where to place key subjects, how to frame depth, and how to use patterns in the streets and buildings to guide the viewer.
Possible drawback: Gion-style scenes often mix bright and dark areas. That means your exposure can swing if you’re not paying attention. The class helps you avoid that by coaching your camera settings for the light you’re actually seeing.
You can also read our reviews of more photography tours in Kyoto
Pontocho District and the lantern glow you came for
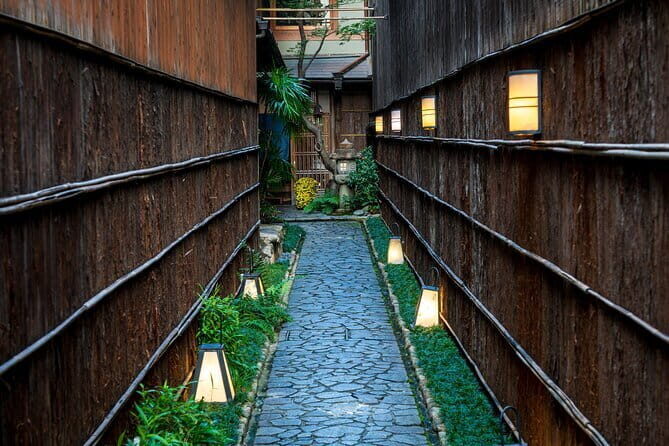
Pontocho is all about atmosphere, and the session leans into it. The focus is the ethereal nightscape with lantern light and modern illumination working together. In other words, it’s a perfect place to practice long exposure without losing the feeling of Kyoto after dark.
This is also where you’ll likely notice the benefit of structured instruction: night scenes can be overwhelming because there’s so much going on. A pro can help you simplify your frame and turn “too much light” into a clear visual story.
One more practical note: night scenes often reward patience. If the first exposure isn’t right, you won’t be rushed. A review of this experience highlights step-by-step shot review and resetting to refine results, and that kind of feedback loop is exactly what you want in Pontocho.
Gion Corner and Minamiza Theater: finding strong night subjects
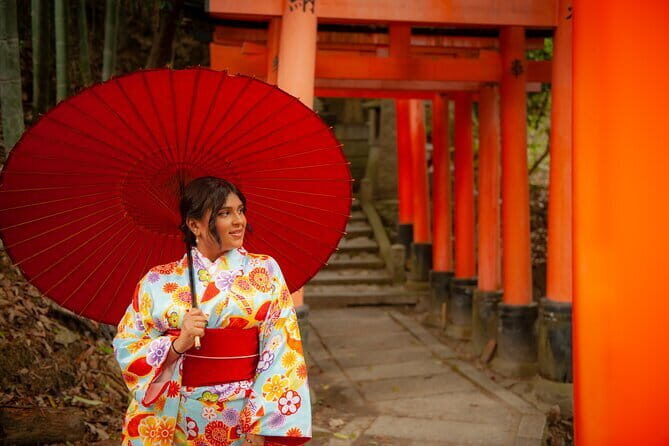
After Pontocho, the route includes stops around Gion Corner and Minamiza Theater. These are useful because they give you subjects that are built for attention—so you can practice framing and exposure on elements that stay visually consistent while lighting shifts around them.
Even if you’re not aiming for “performance venue” shots specifically, these locations can help you learn a transferable skill: how to compose around a focal point when the environment is changing and the light is mixed.
Possible consideration: since this is one 3-hour session, you may not linger long enough for every single “perfect angle” if you’re trying to shoot only one kind of composition. The private format helps, but you still need to be ready to adapt quickly from stop to stop.
Yasaka Shrine and Hokan-ji Temple: photographing sacred architecture after dark
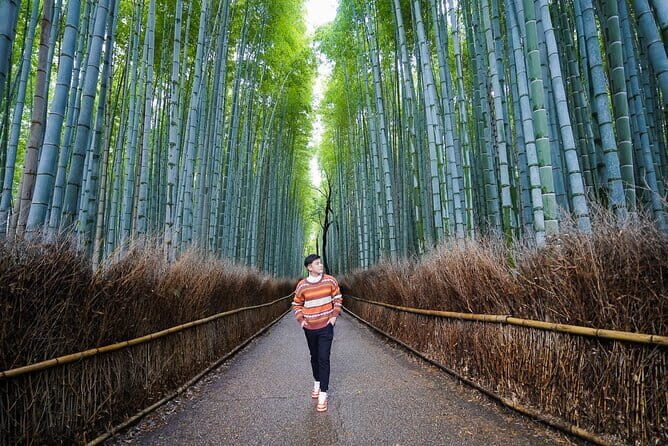
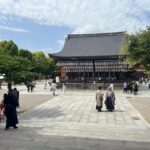
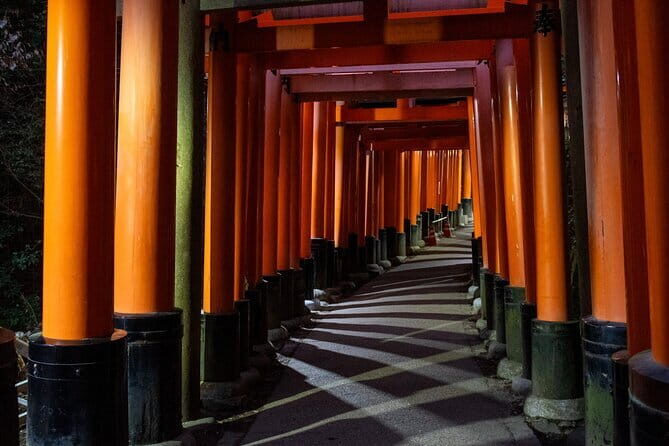
The lesson continues with Yasaka Shrine and Hokan-ji Temple. At night, temple and shrine lighting can be dramatic, but it also brings the usual night issues: highlights can blow out, shadows can swallow detail, and the scene can look flat if you don’t set exposure intentionally.
This is where the class’s focus on camera settings becomes practical. You’ll learn how to handle the light so you capture the quiet, mystique feeling described for Kyoto after dark, not just a bright silhouette.
A helpful advantage here is that instruction doesn’t stop at “take the picture.” You’ll work toward images that tell a story of nocturnal Kyoto—so the photographer is likely steering you toward compositions that communicate mood, not just shapes.
Koju Ninenzaka and the approach-street feel
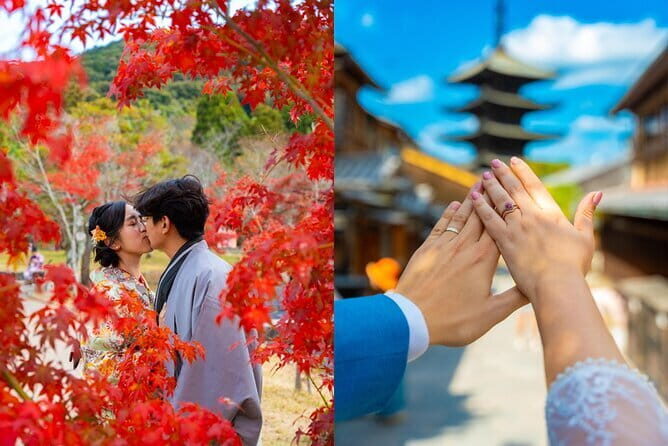
Next comes Koju Ninenzaka. This stop fits naturally into a night photography lesson because approach streets and surrounding architecture can give you leading lines and texture. It’s also an opportunity to practice shooting while you’re moving through the environment, not just stopping for one frame.
You’ll likely get coached on how to time your shots and how to keep your camera settings consistent enough to build a mini “series” across nearby spots. That’s valuable if you want your photos to look like they belong together, not like eight unrelated snapshots.
Practical tip: if you’re planning to use a tripod, be mindful of how you set up quickly. Tight spaces and movement matter at night, and tripod work rewards a calm setup rhythm.
Kiyomizudera Temple lit against the night sky
Kiyomizudera Temple is the big finish, and the night theme here is explicit: it’s lit up against the sky. This is the kind of subject that makes night photography click, because you can combine multiple lighting sources—temple illumination, ambient street light, and darker sky contrast—into one frame.
Expect the session to emphasize making each photo feel intentional. Long exposure can bring out the atmosphere, but it can also turn a scene into blur if you don’t handle it carefully. That’s why tripod support (upon request) and coaching matter so much at this stage.
A review of the experience specifically called out that the photographer brought a tripod for nighttime shots and stayed patient while the learner reviewed results and tried again. If you want your Kiyomizudera images to look sharp and atmospheric at the same time, you’ll be in the right place for that kind of guidance.
Camera settings, composition, and the feedback loop that makes you better
The masterclass covers more than where to stand. You’ll receive personalised education on:
- Camera settings suited to night conditions
- Composition choices that make a scene readable
- The step-by-step process to reset and improve shots
- Review of your images so you understand what changed
This feedback loop is one of the most praised elements in the reviews. The “review the shots, then reset for better and better” rhythm is how you shorten the learning curve fast. Instead of guessing for an entire trip, you get quick corrections while you still have the light and the location right in front of you.
If you’re a beginner, that structure can be reassuring. If you’re more advanced, it helps you refine control rather than relying on trial and error. Either way, you should leave with practical changes you can apply the next night you’re out shooting.
Tripod and gear: what to bring (and what to ask for)
Your camera is not included, so you’ll need to bring your own. The good news is that this tour is designed to work with night photography needs, and a tripod is available upon request.
Here’s how to prepare so you don’t lose time:
- Bring the camera you’ll actually use for night shots
- If you use a tripod, bring it and feel comfortable setting it up quickly
- If you don’t have one, consider requesting tripod support ahead of time
One review notes the photographer brought a tripod and was very patient, which tells you that tripod support isn’t just an afterthought. It’s part of how they help you get the results you want at night.
Where you start: the Izumo-no-Okuni meeting point
The meeting point is the Statue of Izumo-no-Okuni at Kawabatacho, Higashiyama Ward, Kyoto. The activity ends back at the same meeting point.
This matters because it keeps logistics straightforward. At night, fewer transfers and less wandering can make your photography time feel smoother, so you can concentrate on the lesson rather than navigating.
The tour is near public transportation, and service animals are allowed, so it’s practical for a range of travelers.
Who this Kyoto night photography masterclass is best for
This is a strong fit if:
- You want a private lesson rather than a group tour
- You specifically want help with night photography and long exposures
- You value instruction that includes reviewing your shots
- You want curated stops around Gion, Pontocho, shrine/temple scenes, and Kiyomizudera
It’s also a good option if you’ve tried nighttime shots and felt stuck. The lesson is built to guide you through the parts that usually frustrate people: exposure control, stability, and composition choices that hold up in low light.
If you already shoot mostly at night and have your workflow dialed in, you may still find value in the route and the focused feedback, but you’ll want to be proactive about asking for the specific settings or composition tweaks you care about.
Should you book this Kyoto Photography Masterclass?
If your goal is better night photos in Kyoto, I’d book this. The biggest reasons are practical: you get targeted night coaching, tripod support is addressed, and you’re not left to figure it out alone. The lesson format is especially good for turning trial-and-error into faster improvement.
The main reason to pause is simple: you need your own camera, and this is three hours. If you want a full-length deep study of only one temple view, you may feel slightly constrained by the time limit. But if you want a focused, well-guided night route with real instruction, this is the kind of experience that makes your photos look like you knew what you were doing.
FAQ
How long is the Kyoto Photography Masterclass?
It’s approximately 3 hours.
Is this a private tour?
Yes. It’s a private photography lesson, and only your group participates.
Where is the meeting point, and where does the tour end?
You meet at the Statue of Izumo-no-Okuni, Kawabatacho, Higashiyama Ward, Kyoto. The activity ends back at the meeting point.
Does the price include a camera or a tripod?
The camera is not included. A tripod is available upon request.
Will we focus on night photography?
Yes. The night portion is designed around night photography challenges, including long exposure, with Kyoto’s illuminated streets and temple scenes.
Is there an English-speaking guide?
Yes. The tour includes a licensed English-speaking in-person local guide, along with a professional photographer guide.
What is the cancellation policy?
Free cancellation is available up to 24 hours in advance for a full refund.