REVIEW · GION DISTRICT WALKING TOURS
Kyoto: Private Gion District Photoshoot Experience
Book on GetYourGuide →Operated by PhoenixJP合同会社 · Bookable on GetYourGuide
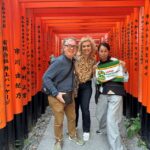
Kyoto looks better through a pro lens. A private photoshoot in the Gion and Higashiyama area turns your day into more than sightseeing, with professionally edited images from famous spots like Yasaka Koshindo, Sannenzaka, and Hōkan-ji Temple.
I love the way you’re guided through poses and shot ideas so you feel natural, not staged. I also like that you get a lot of standard images plus a smaller set of polished picks you can actually use right away.
One possible drawback: if your route includes paid-entry sites, admission fees for those locations aren’t included (the client covers the photographer’s admission fee).
In This Review
- Key highlights you should care about
- The real value of a private Gion photoshoot
- Where you meet: Gionmachi Kitagawa, then your Higashiyama walk
- How the shoot schedule actually plays out
- Hōkan-ji Temple: the pagoda shot and why it works
- Sannenzaka Street: classic texture and deeper depth
- Yasaka Koshindo: color cues and temple-photo variety
- Hidden street moments: the “how did you find that?” effect
- Maruyama Park: a softer setting and seasonal feel
- The real photo deliverables: what you get in JPG and how many
- Editing timeline: aimed within 24 hours, with realistic delays
- The “private” part: who this is best for
- Price and value: what $109 buys you per group
- What you should plan for before you go
- Should you book this private Kyoto Gion photoshoot?
- FAQ
- Where is the meeting point for the Kyoto photoshoot?
- How long does the photoshoot last?
- How many locations will we visit?
- What photos will I receive?
- When will the edited photos be delivered?
- How long can I download the photos after I get the link?
- What languages are available for the live guide?
- Is the experience wheelchair accessible?
- Are admission fees included for temples or paid-entry sites?
- Is this a private group experience?
Key highlights you should care about
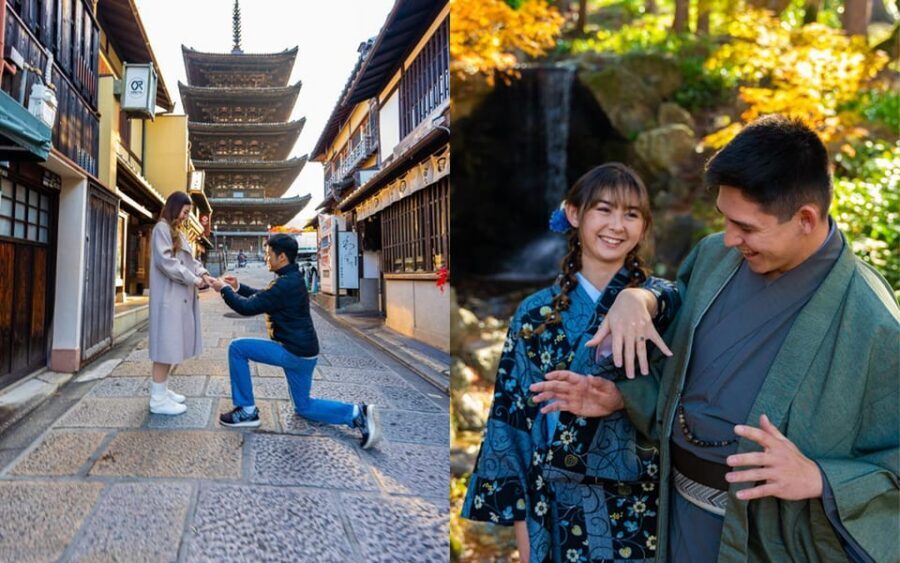
- A mix of famous landmarks and quieter backstreets: Hōkan-ji Temple, Sannenzaka Street, Yasaka Koshindo, plus lesser-known lanes
- Big image yield: about 200 standard JPG photos per hour and 30 professionally edited JPGs
- Real guidance, not guesswork: photographers give pose direction and calm, practical coaching
- Customizable route: you can choose backdrops and swap locations to match your vision
- Fast turnaround as a goal: edited photos are aimed to be delivered within 24 hours (busy seasons can slow it)
- Download window is limited: you can download images for two weeks after the link is sent
The real value of a private Gion photoshoot
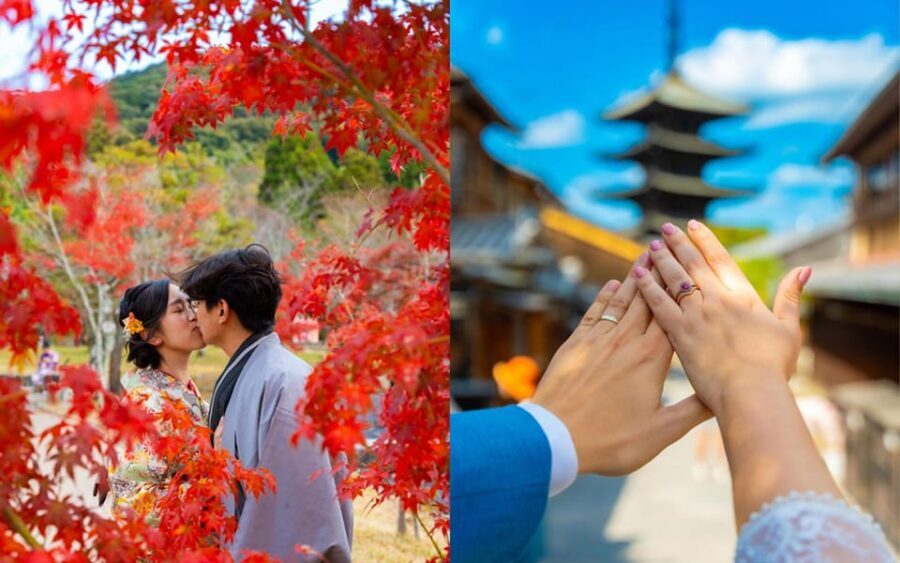
Kyoto has a way of making you slow down. That’s great for sightseeing, but it can be annoying when you’re trying to get photos that look intentional instead of accidental. This kind of private shoot solves that problem.
What makes this experience feel different is the combination of structure and walking freedom. You’re not stuck in one spot for an hour waiting for a perfect angle. You get a plan for where to go, then a photographer helps you work the scene—where to stand, where to look, and how to move so you don’t look stiff. In past sessions, photographers like Josh and Mina (plus others such as Frances and Peter) come up in bookings, and the recurring theme is clear: they’re friendly, efficient, and focused on getting you flattering results.
Another value point: you’re paying for more than a camera click. You’re paying for the photographer to translate Kyoto into photos you can actually live with after the trip.
You can also read our reviews of more private tours in Kyoto
Where you meet: Gionmachi Kitagawa, then your Higashiyama walk
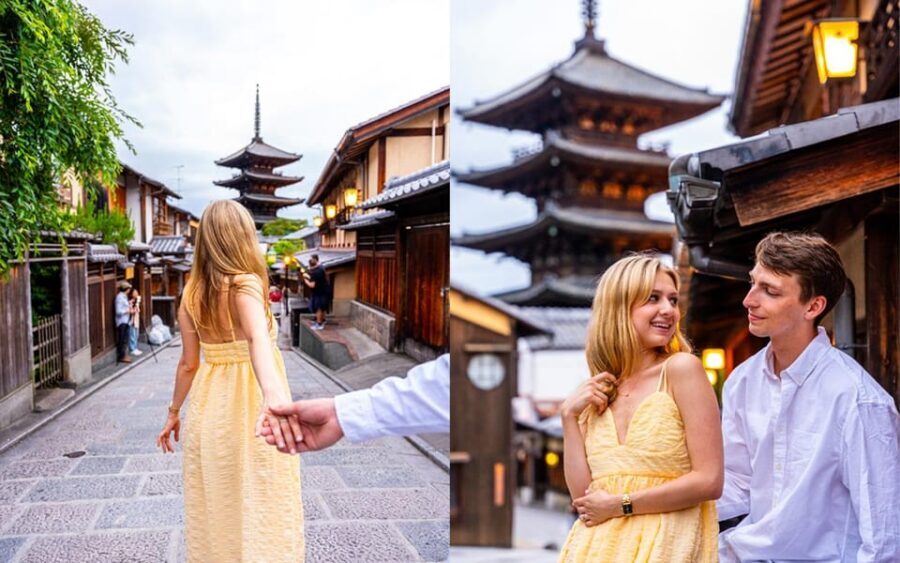
Your starting point is listed as 625 Gionmachi Kitagawa. From there, the day is built around the Higashiyama Ward atmosphere—slow lanes, temple energy, and that classic Kyoto look where everything feels connected.
You should expect a routine that mixes:
- a guided walk
- photo stops where you get directed posing
- some break time and free time so the session doesn’t feel like one long treadmill
That structure matters. A photoshoot only feels stressful when you don’t know what’s coming next. Here, you’re basically being shepherded from scene to scene, but you still have room to breathe.
One extra note you’ll want to clarify: the description also mentions an Osaka street-food finish (like takoyaki). If you’re doing this specifically as a Kyoto day, just confirm what your exact route end-point is, so you aren’t surprised later.
How the shoot schedule actually plays out
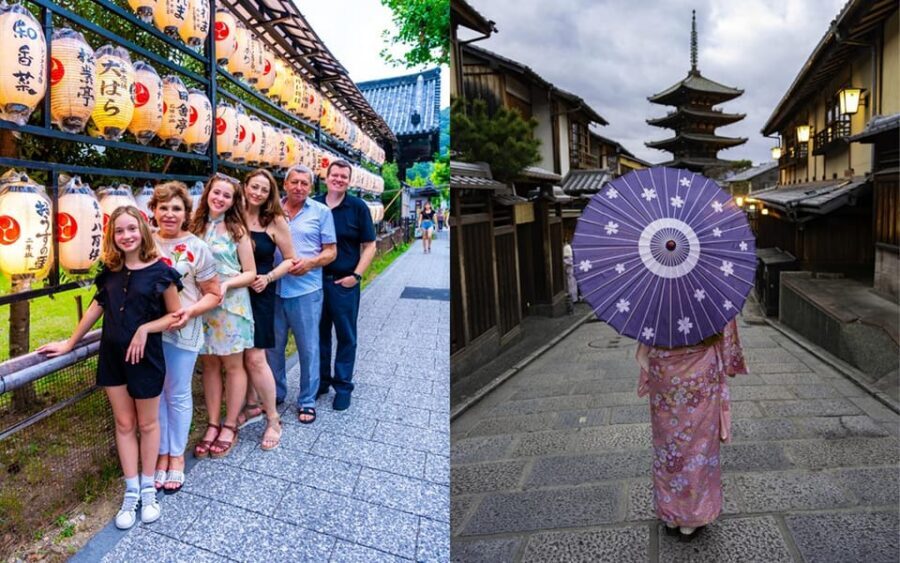
You’ll see durations ranging from 90 minutes up to 7 hours, depending on availability and what you want. The route is flexible, and the shoot can include around five iconic locations within about 1.5 hours in many setups.
That might sound intense, but it’s the smart way to do Kyoto photos. You get variety fast:
- one architectural moment (like a pagoda view)
- one street-photo lane (stones, texture, depth)
- one colorful temple scene
- one quieter “wait, what is this?” side street
- one park-style stop for softer lighting and easier walking poses
If you’re the type who hates being rushed, you can still choose a longer duration. The experience is private, so the photographer can slow down for comfort and still keep the images moving.
Practical tip for you: wear shoes you’d happily walk in for a few hours. The locations mentioned include temple grounds and older streets, which tend to mean uneven surfaces and lots of steps.
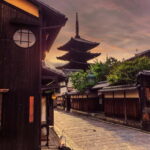
Hōkan-ji Temple: the pagoda shot and why it works
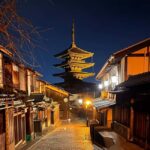
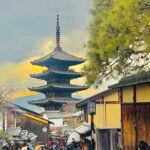
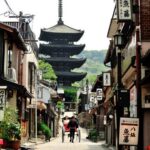
One of the most praised backdrops is Hōkan-ji Temple, specifically for its iconic pagoda views. This is the kind of Kyoto photo that immediately reads as Kyoto even if you forget the exact details later.
Here’s why a guided shoot helps at Hōkan-ji: pagoda scenes are all about framing—getting the right distance from the structure, placing you so the background doesn’t swallow you, and using small body angles to keep things flattering. A photographer who knows the spot can guide you into positions that make the pagoda feel tall and dramatic without turning you into a tiny silhouette.
What to expect in your time here:
- photo guidance for standing and walking poses
- quick adjustments as lighting changes slightly while you move
- time-efficient angles so you get more than one “version” of the same shot
One thing to watch: if your route includes any paid-entry elements, you’ll cover the photographer’s admission fee. You’re not paying for your own ticket under this policy, but the cost still can affect the experience.
Sannenzaka Street: classic texture and deeper depth
Sannenzaka Street is one of those Kyoto lanes that practically photographs itself. The stones, the curves, and the historic look give you instant atmosphere.
For photos, the biggest challenge on streets like this is crowd control and perspective. A private photographer’s advantage is that you can wait for the right moment to shoot—then move when the scene clears enough for you to look like the main character, not a background extra.
You can also get better variety here without changing outfits. The lane gives you:
- leading-lines shots (your body position becomes part of the composition)
- tighter frame portraits with architecture behind you
- wider street scenes where you look like you belong in the story
If you want photos that show Kyoto rather than only your face, this is a key stop.
You can also read our reviews of more photography tours in Kyoto

Yasaka Koshindo: color cues and temple-photo variety
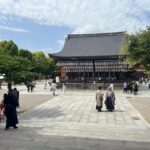
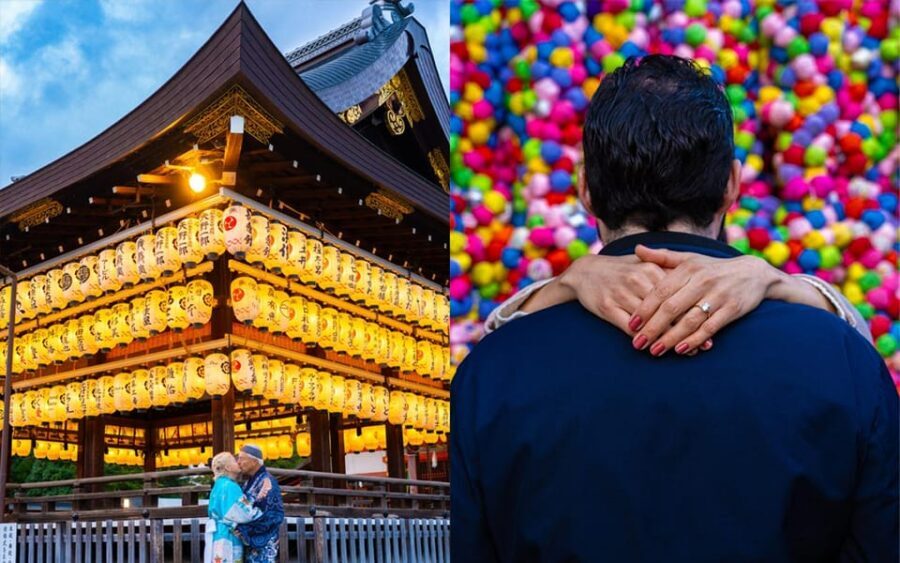
Another highlight is Yasaka Koshindo, described as colorful and great for more unique temple photos.
Color matters. In Kyoto, if your photos are all gray-brown stone and shadows, your album can feel one-note. A spot like Yasaka Koshindo breaks that. It gives you visual contrast, which helps your edited set look more varied when you’re choosing your final images.
What I’d ask yourself before you go: do you want your photos to feel like portraits with scenery, or scenery with you as the subject? This temple stop supports both. With guidance, you can keep your posture natural while letting the temple details do the work.
Hidden street moments: the “how did you find that?” effect
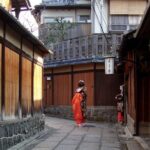
The route often includes a hidden street stop—described as a lesser-known gem with an old Kyoto atmosphere.
This is where the private format really shows. Popular streets can look identical in photos because everyone shoots the same postcard angles. A lesser-known lane gives you that surprise factor:
- texture and quieter background
- fewer distractions
- a more personal feeling in your shots
In the best versions of this experience, you’ll treat this like a short scene break: you’ll slow down, get a few directed poses, then move on. That breathing rhythm is part of what makes the photoshoot feel fun instead of forced.
Maruyama Park: a softer setting and seasonal feel
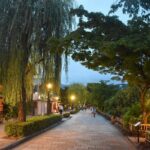
You may also stop at Maruyama Park, which is described as serene and great for seasonal beauty. Parks are an underrated photoshoot tool because you can get softer portraits without the “everything is right behind your head” problem you get on narrow streets.
Even if you’re not thinking about lighting, parks help you in three ways:
- more natural space for full-body photos
- calmer backgrounds for portraits
- fewer sudden obstacles than temple stairs and tight lanes
If your shoot includes both street scenes and park scenes, your final edit will feel more balanced. You’ll have both “Kyoto postcard” shots and more relaxed portrait-style images.
The real photo deliverables: what you get in JPG and how many
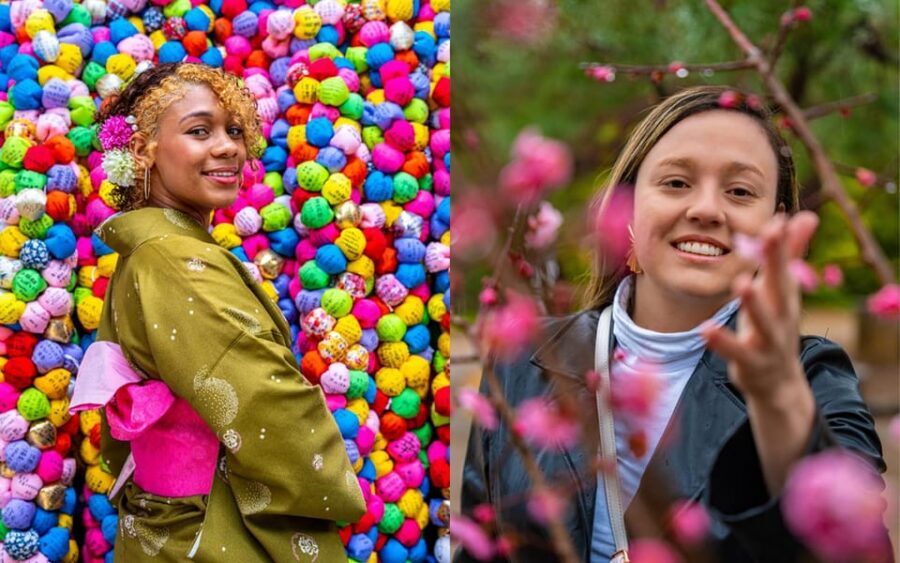
Here’s the part you’ll care about most after the walk: the deliverables.
You get two types of photos:
- All photoshoot images (about 200 per hour) in standard-quality JPG
- 30 professionally edited high-quality JPG photographs
That split is useful. The standard images help you pick favorites, compare outfits/poses, and make sure you don’t miss a great moment. The edited set is the ready-to-use selection—perfect for profile pics, prints, and the “this is the one” images.
Also, you’ll receive a download link, and photos are downloadable for two weeks after it’s sent. After that, they’ll be deleted. My advice: when the link arrives, download everything right away, then sort later.
Editing timeline: aimed within 24 hours, with realistic delays
The plan is to deliver edited photos within 24 hours, but delays can happen during busy seasons.
That’s normal. What matters is that the experience sets expectations up front. If you’re trying to post on a strict schedule (for example, immediately before a wedding announcement or a specific deadline), build in a buffer. If you’re traveling around Kyoto casually and want photos for your album, this turnaround target is a big plus.
The “private” part: who this is best for
This experience is private, and it works for solo travelers, couples, families, and groups. That matters because private format lets you control the pace and the vibe.
Based on patterns from past participants, this is especially strong for:
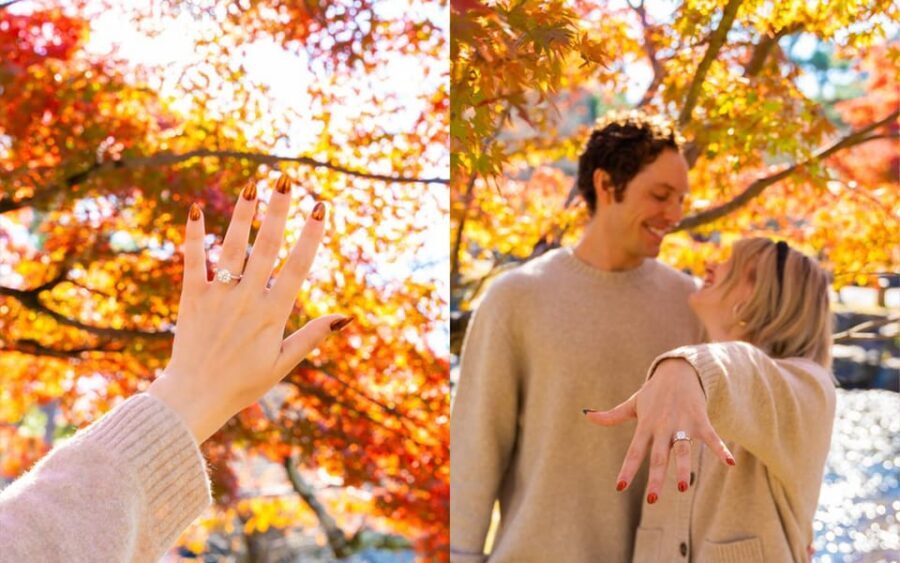
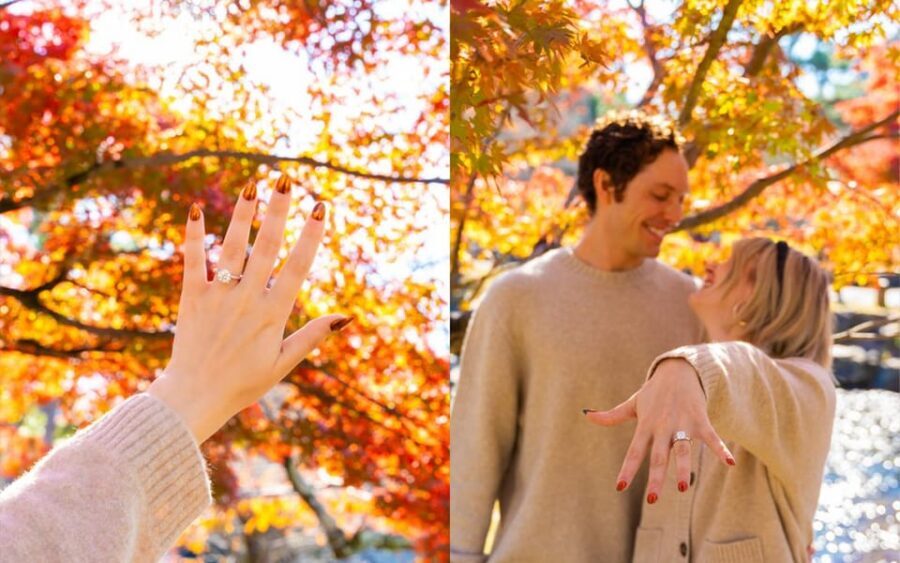
- engagement photos (gentle guidance, calm posing, and a route built for variety)
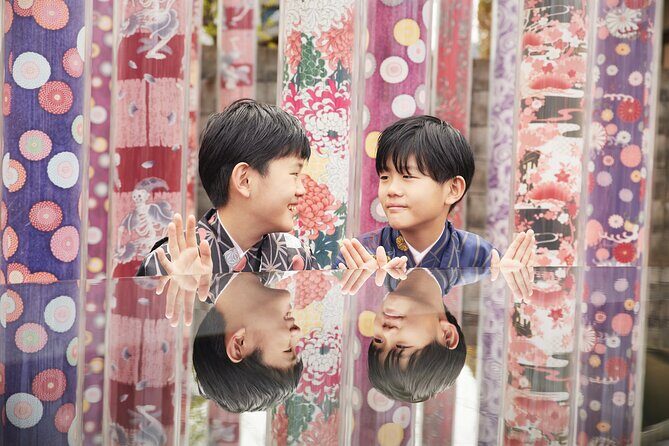
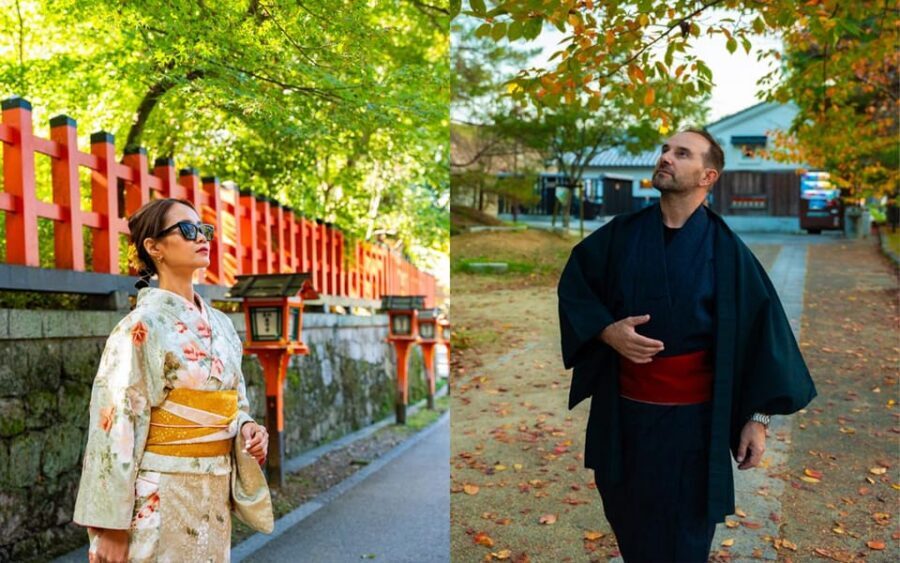
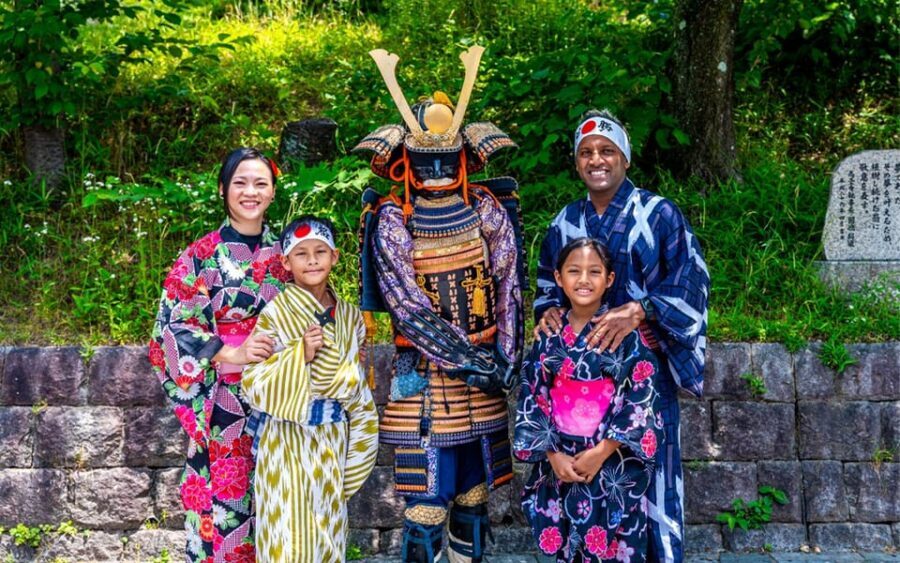
- kimono days (some photographers help point you toward kimono rentals, and sessions may include time to get dressed depending on your plan)
- first-time photoshoots (you don’t need to know how to pose; you get directed step-by-step)
If you’re more of a “wander and take snaps as you go” person, you might feel constrained by the stop-and-pose rhythm. But the flexibility helps: you can customize locations and your photographer can adjust the shoot to your preferences.
Price and value: what $109 buys you per group
The price is listed as $109 per group up to 1. Duration ranges, and the photo count scales with time since standard images are roughly 200 per hour.
So what’s the value? You’re buying:
- time with a photographer who handles composition and posing
- access to scene variety (temples, streets, park settings) without you needing to scout angles yourself
- a clear post-production deliverable: 30 edited JPGs
If you’ve ever paid for a generic walking tour and then ended up with only a handful of usable photos, this is aimed at solving that gap. You’ll leave with enough images to choose from and a polished set that feels consistent.
The cost also makes sense if you’re traveling with someone else and want photos that look like they were made by a professional—not by someone holding a phone and trying to read a menu map at the same time.
What you should plan for before you go
You don’t need to be a model to enjoy this. Still, a few prep steps will help you get more from the session.
- Bring comfortable walking footwear for temple ground and older stone streets.
- Think about your goal: more portrait-focused, more scenery-focused, or a blend.
- If you care about specific backdrops, tell the photographer so they can adjust the route.
- If your route might include paid-entry spots, remember the photographer’s admission fee is your responsibility.
- When your photos arrive, download them quickly because the link works for two weeks.
Also, languages supported are listed as English, Arabic, and Japanese, so you can match your comfort level when communicating.
Should you book this private Kyoto Gion photoshoot?
Book it if you want Kyoto photos that look intentional, not random. The combination of pro direction, a walkable set of iconic and quieter locations, and 30 edited JPGs plus a big batch of standard images is exactly what most people wish they had after a trip.
Skip it or consider a different style if you mainly want casual memories without posing. This experience is built around guided shot-making. If you’re excited by that and you like the idea of leaving with a photo set you’ll actually use, it’s a strong pick.
FAQ
Where is the meeting point for the Kyoto photoshoot?
The starting location is listed as 625 Gionmachi Kitagawa.
How long does the photoshoot last?
The duration can be 90 minutes up to 7 hours, depending on availability and your chosen starting time.
How many locations will we visit?
You typically visit about 5 iconic locations within 1.5 hours, and the route can be customized to your preferences.
What photos will I receive?
You get all photoshoot images (about 200 per hour) in standard-quality JPG, plus 30 professionally edited high-quality JPG photographs.
When will the edited photos be delivered?
Edited photos are aimed to be delivered within 24 hours, though delays may occur during busy seasons.
How long can I download the photos after I get the link?
Photos are downloadable for two weeks after the link is sent, then they are deleted.
What languages are available for the live guide?
The live tour guide is listed as available in English, Arabic, and Japanese.
Is the experience wheelchair accessible?
Yes, the photoshoot is listed as wheelchair accessible.
Are admission fees included for temples or paid-entry sites?
Admission fees are not included. For paid-entry sites, the client is responsible for the photographer’s admission fee.
Is this a private group experience?
Yes. It’s a private group experience.