REVIEW · KYOTO
Kyoto Portrait Tour with Kimono
Book on Viator →Operated by Travel Japan Together · Bookable on Viator
A camera-friendly Kyoto route in 90 minutes. This Kyoto Portrait Tour with Kimono is built for people who want great photos without guessing where to stand or when to shoot. You pick a morning or afternoon session for the light, and you move through a mix of famous landmarks and more low-key streets that feel very Kyoto.
What I like most is the small group size (max 6 people) and the practical guidance during the shoot. A second big win: you get professionally edited photos after the tour, so you’re not stuck with half-good snapshots. One thing to consider: the kimono isn’t included, so you’ll need to plan for your rental and coordinate it with your session time.
In This Review
- Key highlights you’ll feel right away
- Price and what you’re really paying for
- Group size, pacing, and why 90 minutes works
- Kimono timing: choosing your rental without stressing the shoot
- The itinerary: a photo route from Yasaka Shrine to Yasaka Pagoda
- Stop 1: Yasaka Shrine’s Nishiromon Gate for classic Kyoto vibes
- Stop 2: Maruyama Park for garden portraits and seasonal mood
- Stop 3: Chion-in Temple and the giant Sanmon Gate
- Stop 4: Ishibe Alley for narrow-street texture
- Stop 5: Nene-no-Michi for flagstone walkway atmosphere
- Stop 6: Yasakanoto Pagoda at Hōkan-ji for the signature finale
- What the guide experience should feel like
- Photos you’ll actually use: what “professionally edited” means in practice
- Where this tour fits best in your Kyoto plan
- Should you book this Kyoto Portrait Tour with Kimono?
- FAQ
- How long is the Kyoto Portrait Tour with Kimono?
- Where does the tour start and end?
- Is the kimono included in the price?
- What’s included?
- How many people are on the tour?
- What stops are included in the itinerary?
- Are there options for different times of day?
- Is cancellation refundable?
Key highlights you’ll feel right away
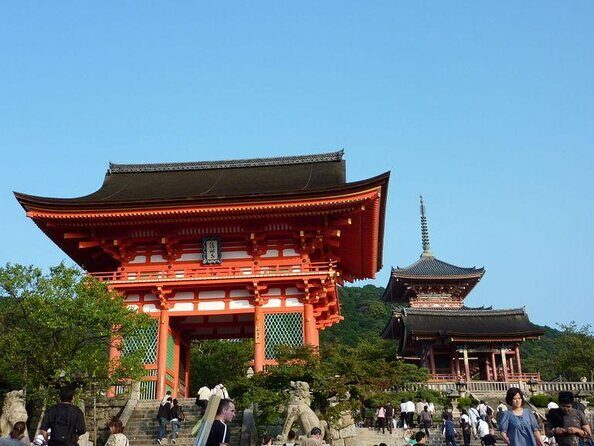
- Small group (6 max) keeps the pace photo-friendly instead of rushed
- Morning or afternoon sessions let you choose your lighting and mood
- Kyoto landmarks plus side streets from Yasaka Shrine to Ishibe Alley
- Pro guidance for posing (including patience while people move through)
- Professionally edited results means less editing stress for you
- Kimono is optional but not included so budget extra time and money
Price and what you’re really paying for
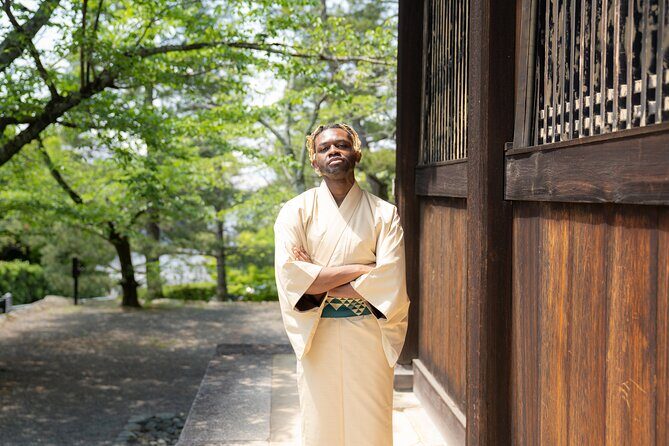
At $85.87 per person for about 1 hour 30 minutes, this tour is one of the more straightforward ways to buy photos in Kyoto. The price is basically paying for three things: a guide who knows where to shoot, a route that hits visually strong stops, and professional editing afterward.
The value gets clearer when you look at what’s not there. A typical “stand here and take a selfie” walking tour doesn’t include editing. Here, editing is included, and that matters—Kyoto light and colors can be tricky, especially in Gion/Higashiyama where streets stay lively. You’re also not paying for pricey extras inside admissions; most stops listed are free (while your time is being guided and optimized).
Two practical cost notes:
- Kimono isn’t included, so you should expect an added rental expense and plan the timing.
- If you’re traveling solo, the guidance and composition help more than you think, because someone else is handling angles and timing so you’re not relying on strangers with a phone.
You can also read our reviews of more tours and experiences in Kyoto.

Group size, pacing, and why 90 minutes works
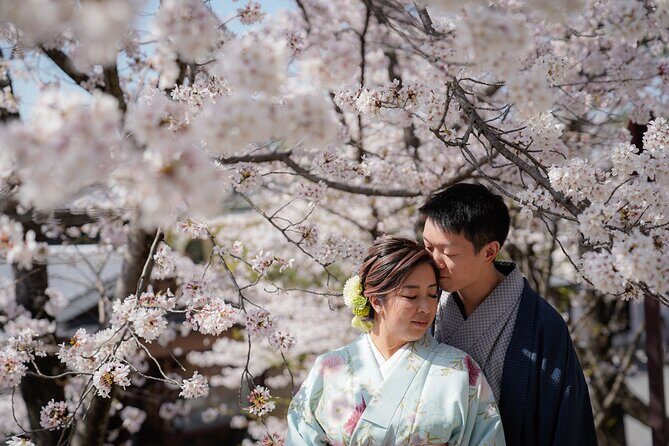
Kyoto can be chaotic in the best way. Even at quieter corners, you’ll still see foot traffic, cyclists, tour buses, and people stopping to look around. This is exactly where the max of 6 travelers matters. Instead of a giant group taking turns at each spot, you get room to try a pose, adjust your direction, and wait for a cleaner moment.
In the experience’s style, you’re not stuck doing one long “photo moment” per stop. The itinerary is broken into short, focused segments—often around 10–20 minutes—so you can get multiple looks and backgrounds without feeling like you’re dragging yourself from place to place.
If you’re the type who wants photos but also wants to enjoy the walk, this pacing is a good match. You’ll still be moving, but it’s designed to feel like a guided portrait session, not a checklist.
Kimono timing: choosing your rental without stressing the shoot
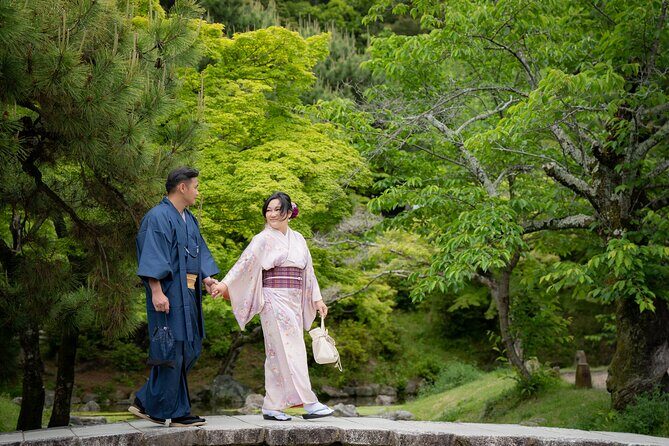
Here’s the key detail: the kimono is not included, but you can choose one from your preferred store. That gives you flexibility, but it puts the responsibility on you to make the schedule work.
What you should do:
- Pick a kimono rental option that can get you ready on time for your morning or afternoon session.
- Plan for the reality of dressing time and small adjustments (fit, sleeves, comfort when walking).
- Wear practical footwear under the kimono plan. Your tour is a walking route with multiple stops, so comfort matters more than fashion judgment.
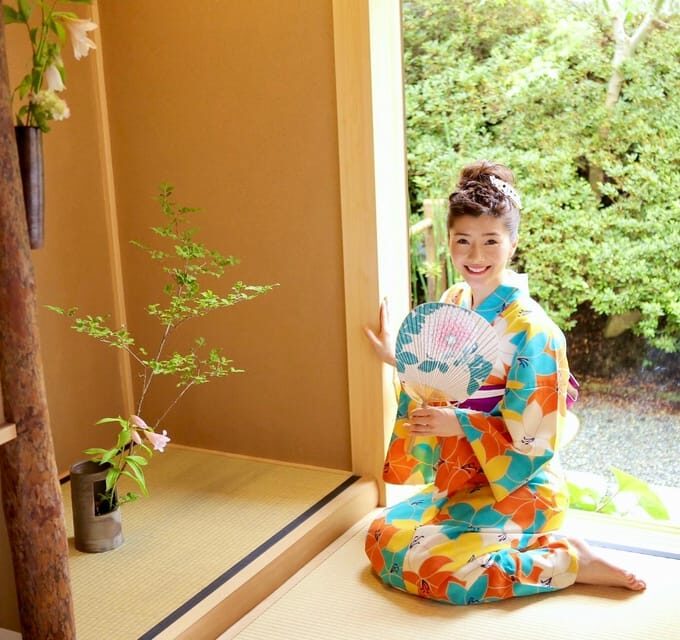
The bright side is that when you’re in a kimono, you automatically get a Kyoto atmosphere that regular clothes can’t replicate. Guides on this route are praised for being patient and for giving posing directions, which helps a lot if you’ve never done photos like this before.
The itinerary: a photo route from Yasaka Shrine to Yasaka Pagoda
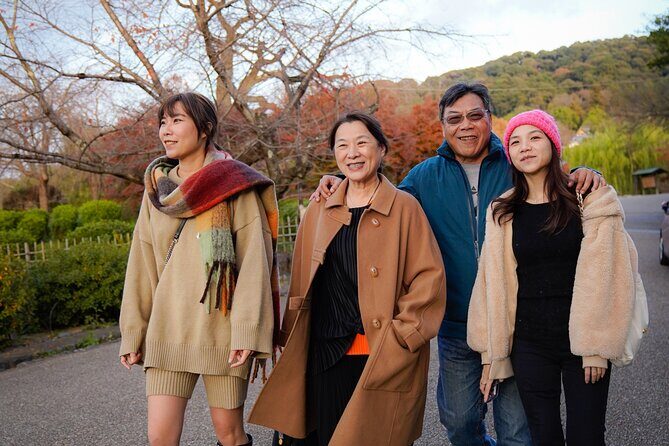
You’ll start at Yasaka Jinja Nishiromon Gate (Western Tower Gate) in Gion/Higashiyama and end at the Hōkan-ji Temple (Yasaka Pagoda) area. The route is a loop-like progression through some of the most photogenic zones: shrine energy, garden calm, temple scale, narrow back lanes, and then the signature pagoda finale.
Stop 1: Yasaka Shrine’s Nishiromon Gate for classic Kyoto vibes
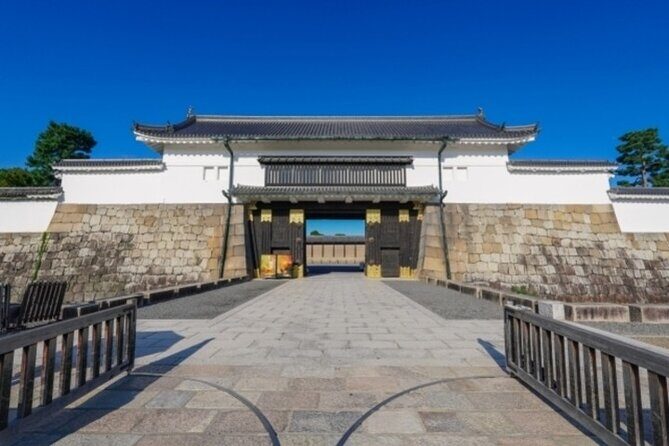
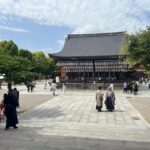
Your first setup is Yasaka Shrine, starting at the Nishiromon Gate area. This is a strong opener because you’re immediately in the visual language of Kyoto: shrine gates, traditional architecture, and that sense of place you can’t fake.
Why it works for portraits:
- You get a recognizable Kyoto backdrop fast.
- It’s an easy “first photo” location, especially if you’re warming up or adjusting after getting dressed.
- The stop is listed at about 20 minutes, which gives you time for multiple shots without panic.
A possible consideration: since this is a major landmark, you may see crowds. The upside is that a small-group shoot helps you wait for cleaner angles rather than fighting for them.
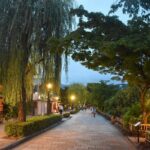
Stop 2: Maruyama Park for garden portraits and seasonal mood
Next up is Maruyama Park, described as the oldest park in Kyoto. The photos here lean more “calm and composed” than the shrine vibe.
If you’re shooting in the right season, Maruyama Park offers extra atmosphere—especially around cherry blossom time (early April is referenced in the tour description). Even outside peak blossom weeks, a Japanese garden-style setting tends to look good in portraits because it gives you depth and softer background textures.
This stop is also listed as about 20 minutes and free admission. In practical terms, that’s enough time to:
- get a few full-body shots with garden lines behind you
- do a close-up or half-portrait look
- transition smoothly to the more architectural stops after
Stop 3: Chion-in Temple and the giant Sanmon Gate
Then you head to Chion-in Temple, focusing on its main entrance gate area. The tour notes that the Sanmon Gate is about 24 meters tall and 50 meters wide, and that it’s the largest wooden temple gate in Japan.
This stop is valuable because it adds scale. If your earlier photos are more “you in Kyoto,” Chion-in’s gate makes them feel more “you against monumental history,” even if you’re just there for portraits.
What to expect:
- More dramatic lines for framing (useful for kimono silhouettes)
- Plenty of visual structure around you
- Again, the stop is short enough (about 20 minutes) to keep momentum
A drawback you might consider: when there’s a big iconic gate, it can attract photographers and tour groups. Still, with a group capped at 6 and a guide who can manage timing, you’re more likely to get shots that don’t look crowded.
Stop 4: Ishibe Alley for narrow-street texture
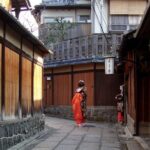
After the larger temple setting, you get a contrast: Ishibe Alley. The description emphasizes it as an alley with traditional architecture and authentic Kyoto vibes.
This is one of those stops that can make your photo set feel less like a tourist album. You get narrow street perspective, older-looking walls, and a more intimate feel than the shrine plaza shots.
The stop is about 10 minutes. That brevity is actually useful. You’ll likely do a quick set of:
- side-profile shots to use the lane lines
- couple shots with leading lines
- short “turn and walk” sequences
Admission details for this stop are listed as not included, so keep your expectations simple: treat it as a short alley photo moment, not a museum visit.
Stop 5: Nene-no-Michi for flagstone walkway atmosphere
Next is Nene-no-Michi, a flagstone walkway. The tour description highlights seasonal color in autumn (red leaves) and notes that Kodaiji is very close and many people walk this street.
That last detail matters. Nene-no-Michi can be scenic in a “people-watching Kyoto” way. In photos, that can either help (life and context) or get messy (crowds in every frame). This is where good timing and a patient guide make the difference.
Expect this stop to feel:
- walkable and rhythmic
- ideal for portraits that look candid, not overly posed
- good for couple shots and romantic framing
Time is about 10 minutes and admission is listed as free, so you’re really paying for direction, angles, and the ability to keep moving with purpose.
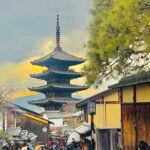
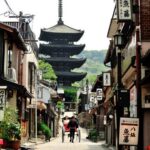
Stop 6: Yasakanoto Pagoda at Hōkan-ji for the signature finale
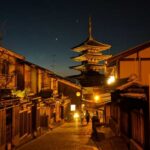
The last stop is Yasakanoto Pagoda at Hōkan-ji Temple, also known as the 5 storied pagoda. This is the payoff location. You end your photography tour in front of the pagoda and then get travel tips around the area.
This final segment is about creating that “I made it to Kyoto” finish:
- tall vertical structure behind you
- an instantly recognizable silhouette
- strong photos for couples, solo portraits, and anyone who wants at least a few dramatic frames
The stop is about 10 minutes. That may sound short, but it’s often perfect at the end because you’ll be ready for your last set without burning out.
What the guide experience should feel like
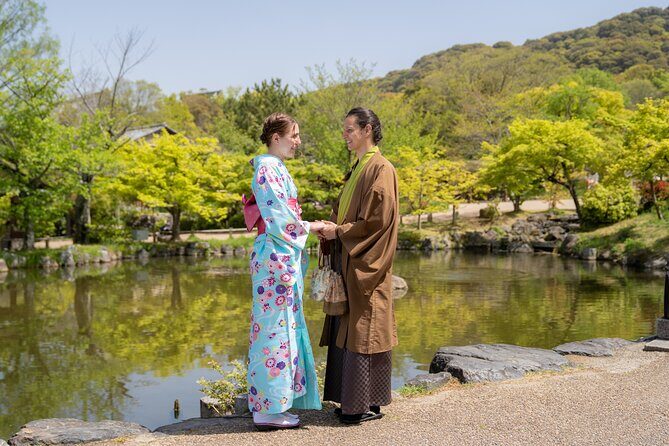
This tour runs as a guided portrait session. The best versions of it feel practical and calm, not chaotic.
From the people who’ve done this, a few patterns show up:
- Guides like Yuta are praised for being patient and for explaining shrine details in a way that makes you feel more connected to what you’re photographing.
- Takuma gets credit for working quickly when schedules get tight, while still keeping the experience fun.
- Mina and others are described as professional with editing and responsive even after the tour.
- Cocoro is mentioned as guiding people through the Gion area and giving local insights, plus helping with posing.
- Soma and Andy Yu Lei are praised for spotting quieter angles and managing crowds so your portraits don’t look overly staged.
- Multiple guides are noted for giving pose tips and waiting for cleaner moments so the final images look intentional.
Even if you don’t know anything about shrines or Kyoto architecture, you’ll still get value because the guide handles the “photo brain” for you: where to stand, when to turn, and how to look comfortable.
Photos you’ll actually use: what “professionally edited” means in practice
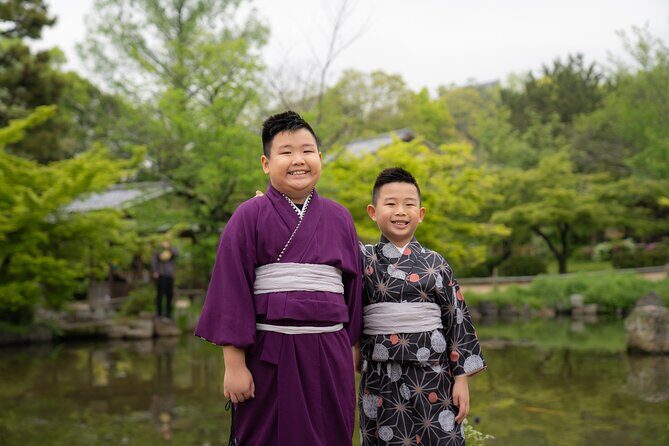
“Professionally edited photos” is one of those phrases that can mean anything. Here, it matters because you’re shooting in daylight street conditions, and Kyoto colors can shift quickly as clouds move and crowds pass.
Editing typically helps with:
- color balance (kimono tones pop instead of looking washed out)
- sharpness and clarity on faces
- background cleanup, like reducing distractions in busy spots
You should also expect the editing to save you time. Instead of learning how to process your own photos, you’re buying a finished product that’s meant to be shared or printed.
A smart move: once you get your final set, pick your best 10–15 for editing rounds on your end only if you want a second style pass. Otherwise, your baseline should already be solid.
Where this tour fits best in your Kyoto plan

This is ideal if:
- You want Kyoto portrait photos without spending a full day on logistics
- You’re in the Gion/Higashiyama area and want a guided route you can enjoy on foot
- You care about light, so you’ll choose morning or afternoon intentionally
- You’re solo and want someone to handle posing and composition
It may be less ideal if:
- You’re not comfortable walking multiple short distances in traditional outfit (even with guidance)
- You’re hoping for a long, slow temple visit with lots of time inside buildings (this is short-stop photo pacing)
- You don’t want to budget for a separate kimono rental
If your trip already includes temples and markets, this tour is a good “photo-focused layer” that gives you something more personal than general sightseeing snapshots.
Should you book this Kyoto Portrait Tour with Kimono?
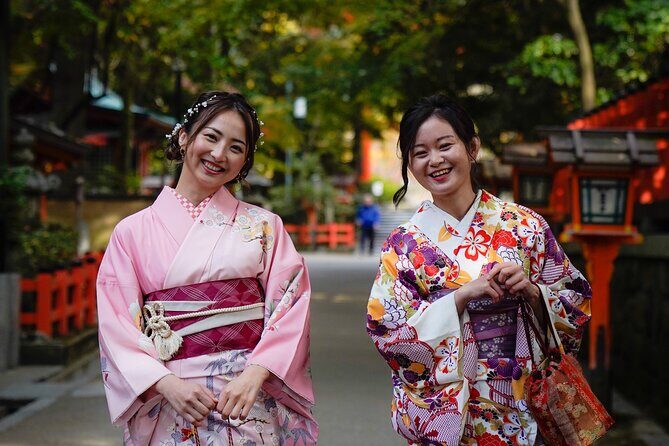
If you want well-framed Kyoto portraits and you like the idea of someone handling timing, posing direction, and route decisions, I’d book it—especially if you’re traveling in a small group or solo.
Choose this tour when you’re aiming for:
- small-group photo attention
- a route that covers major and more quiet-feeling stops
- edited results you can use right away
I’d think twice if you’re trying to keep costs ultra-low, because kimono isn’t included. But if you’re already planning a kimono day, this tour can turn that outfit into a focused, photo-ready experience instead of just a few random pictures.
FAQ
How long is the Kyoto Portrait Tour with Kimono?
The tour runs for about 1 hour 30 minutes.
Where does the tour start and end?
It starts at Yasaka Jinja Nishiromon Gate (Western Tower Gate) in Higashiyama, Kyoto, and ends at Hōkan-ji Temple (Yasaka Pagoda) in the same area.
Is the kimono included in the price?
No. The tour states that kimono is not included, though you can choose your preferred kimono store.
What’s included?
You get professionally edited photos and a guide.
How many people are on the tour?
The tour has a maximum of 6 travelers.
What stops are included in the itinerary?
The tour includes Yasaka Shrine, Maruyama Park, Chion-in Temple, Ishibe Alley, Nene-no-Michi, and ends at the Yasakanoto (Yasaka Pagoda) / Hōkan-ji Temple area.
Are there options for different times of day?
Yes. You can choose a morning or afternoon session to match your preferred lighting.
Is cancellation refundable?
Yes. You can cancel for a full refund if you cancel at least 24 hours before the experience starts.
If you tell me your travel dates (and whether you’re thinking morning or afternoon), I can suggest what kind of photos you’ll likely get from the light and how to time your kimono rental.