REVIEW · NINJA EXPERIENCES
Kyoto: Forge Your Own Ninja Weapon with Japanese Tin Casting
Book on GetYourGuide →Operated by Kendo Experience · Bookable on GetYourGuide
You turn molten tin into ninja gear in Kyoto. This workshop is a rare hands-on metal-casting experience, guided in English and Japanese by staff including Daiki. It’s also easy to reach—about a 3-minute walk from Demachiyanagi Station.
I love that you create something real metal, not a store-bought replica, with the full workflow from casting to finishing. You’ll also get a take-home souvenir in a dedicated box, sized around 8–10 cm, so it’s giftable and display-worthy right away. One possible consideration: there’s no mention of drinking water being provided, so bring drinks and plan for the studio’s rules (no food/alcohol).
In This Review
- Key Things That Make This Workshop Worth Your Time
- Tin Casting Ninja Weapons in Kyoto: The Practical Pitch
- Where You’ll Go: Demachiyanagi Station Makes It Easy
- Choose Your Ninja Weapon: Shuriken, Kunai, or Oni Mask
- Step-by-Step Crafting: From Casting Sand to Rust-Proof Finish
- 1) You Start by Designing and Selecting Your Piece
- 2) Make the Mold with Special Casting Sand
- 3) Melt the Tin and Pour It Carefully
- 4) Cool It in Water
- 5) Shape and Polish with Files and Grinders
- 6) Protect It from Rust and Finish with Oil
- Oni Mask Add-Ons: Gold Leaf and a Cord
- What the Time Feels Like: 2 Hours vs 2.5 Hours
- The Studio Rules: Know What’s Allowed Before You Arrive
- Safety and Heat: Tin at 230 Degrees (and Supervision)
- English Support: Working Comfortably Across Languages
- What You Take Home: A 8–10 cm Metal Piece in a Box
- Price and Value: Why $103 Makes Sense for a Real Workshop
- Who This Workshop Fits Best (and Who Might Skip It)
- How to Prepare: Small Things That Make the Day Smoother
- Should You Book This Tin Casting Ninja Weapon Workshop?
- FAQ
- What ninja items can I make in this workshop?
- How long does the workshop take?
- Where is the studio located?
- Is the experience suitable for beginners?
- Can children participate?
- What should I bring?
- Is there a water break or water provided?
- What’s included in the price?
- Do I get my weapon to take home?
- Are there any restrictions during the workshop?
Key Things That Make This Workshop Worth Your Time
- Real tin casting steps: mold, melt, pour, cool, shape, and finish
- Three distinct designs: shuriken, kunai, or an oni metal mask
- Staff guidance you can follow: Daiki and team talk you through every stage
- Photo-friendly crafting: you can capture memories with photos and videos
- Finished for durability: rust protection solution and special oil are part of the process
Tin Casting Ninja Weapons in Kyoto: The Practical Pitch
Kyoto has no shortage of cultural activities, but this one is different. You don’t just watch a craft—you make the object. You’ll use traditional-style tin casting techniques and go from a detailed mold to a finished metal ninja weapon you can take home.
The practical upside is value. For $103 per person, you’re paying for materials for one piece, equipment rental, and guided steps that turn a blank “idea” into a finished item. That’s a very different experience than buying a souvenir shaped like a kunai.
Another reason I’d put it on a short list: the location. Being around a 3-minute walk from Demachiyanagi Station means you can slot this into a normal Kyoto day without burning time on transfers or long walks. If your itinerary already includes northern Kyoto, this kind of access matters.
You can also read our reviews of more tours and experiences in Kyoto.


Where You’ll Go: Demachiyanagi Station Makes It Easy
The studio is located just 3 minutes on foot from Demachiyanagi Station. That’s the kind of detail that saves you stress. Kyoto transit can be smooth, but small walking time add-ups can make a day feel heavier.
Also, the studio runs on a clear time block. The typical duration is about 2 hours (150 minutes) for shuriken/kunai, and around 2.5 hours for the oni mask option. When an activity has a tight window, the station proximity helps you arrive calmly, not sprinting.
On arrival, you’ll be set up with an apron (rental) and the tools and materials you need for your chosen piece. From there, you’ll work through casting and finishing steps under supervision.
Choose Your Ninja Weapon: Shuriken, Kunai, or Oni Mask
Your first decision is the design. This workshop lets you pick from classic ninja-inspired shapes, including shuriken (ninja star), kunai (ninja knife), or an oni-inspired metal mask.
Here’s how to think about that choice before you arrive:
- Shuriken is a great pick if you want something iconic and relatively straightforward in silhouette.
- Kunai can add a different feel—more “weapon-shaped,” with details you’ll smooth and refine by hand.
- Oni mask is the most dramatic option. You can add accents like gold leaf, and you’ll have choices for attaching a cord so it can be wearable or display-ready.
The size you can make is about 8–10 cm, which is ideal for a take-home item. It won’t swallow your luggage space, and a compact piece is easier to handle during your trip.
Step-by-Step Crafting: From Casting Sand to Rust-Proof Finish
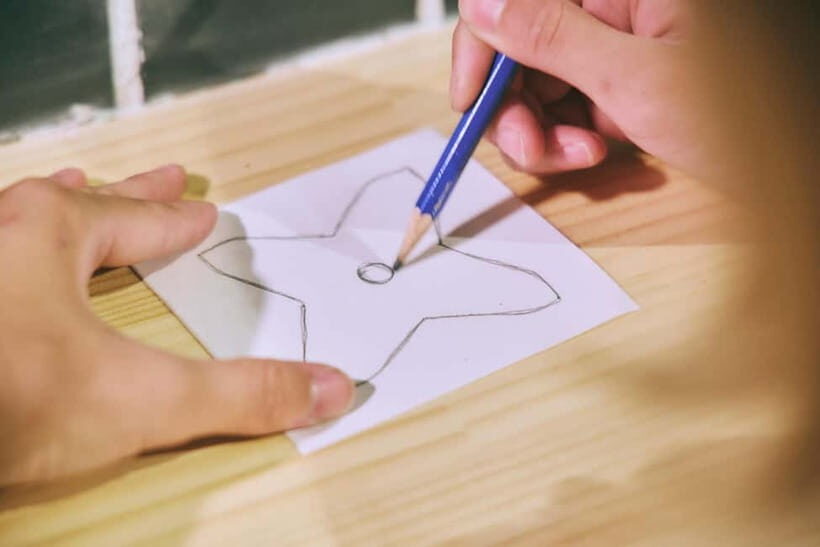
This is the core of why the workshop feels special. You’ll follow a real sequence: prepare a mold, cast metal, then shape and finish it like a small metalworking project.
1) You Start by Designing and Selecting Your Piece
At the beginning, you choose what you’re making. You’ll decide on the item type, and if you’re doing the kunai or oni mask option, those are the higher-detail choices. The studio sets you on the right track so even first-timers can keep moving step by step.




2) Make the Mold with Special Casting Sand
Next comes the mold. You’ll form the shape using professional casting sand that defines the final design. This matters more than it sounds—your mold is basically the blueprint. If you want crisp edges or cleaner geometry, this is where your effort shows up later.
3) Melt the Tin and Pour It Carefully
Then you melt the tin and pour it into the mold. Tin melts at 230 degrees, and that “easy to work with” detail is part of why the workshop can support beginners with staff supervision.
This is also the part most people remember. You watch solid material become molten metal, then you’re part of the transformation process under guidance.
4) Cool It in Water
After pouring, the metal is cooled in water. Rapid cooling solidifies your creation quickly. From a craft standpoint, this is what locks in the cast shape so you can move on to refining.
5) Shape and Polish with Files and Grinders
Once it’s solid, you’ll smooth and refine it. You use files and grinders to improve the surface and sharpen details. This is where your piece starts looking less like a raw casting and more like a finished ninja prop.
6) Protect It from Rust and Finish with Oil
Finally, there’s a durability step. You soak the metal in a rust-preventive solution and then coat it with a special oil. In Kyoto humidity, or on a trip with temperature changes, this kind of finishing step is what keeps your souvenir looking better for longer.
If you choose the oni mask route, you’ll also have extra finishing touches.
Oni Mask Add-Ons: Gold Leaf and a Cord
For the oni-inspired mask option, you can apply gold leaf for dramatic accents. You’ll also add a cord so the mask can be wearable or display-ready. That turns the finished item from a desk ornament into something you could actually use for photos.
What the Time Feels Like: 2 Hours vs 2.5 Hours
The clock is part of the experience. For shuriken/kunai, plan for around 2 hours. For the oni mask, plan around 2.5 hours.
A useful way to plan your day:
- If you’re tight on timing, pick shuriken or kunai.
- If you want more decorative work (gold leaf, cord, extra finishing), choose the oni mask.
Also, completion times can vary. It’s smart to arrive with a flexible buffer rather than scheduling a dinner that’s ten minutes away.
The Studio Rules: Know What’s Allowed Before You Arrive
This workshop has clear boundaries, and they’re worth reading. Here’s what you need to know from the rules provided:
- Smoking is not allowed, including indoors.
- Food isn’t allowed.
- Alcohol and drugs aren’t allowed.
- Party groups aren’t allowed.
- Making fire isn’t allowed.
There’s also a practical note: drinks aren’t included, and there’s not water provided, so bring something to sip.
In other words, treat it like a focused craft session, not a casual hangout. That’s usually a good thing—less chaos makes it easier to learn the steps correctly.
Safety and Heat: Tin at 230 Degrees (and Supervision)
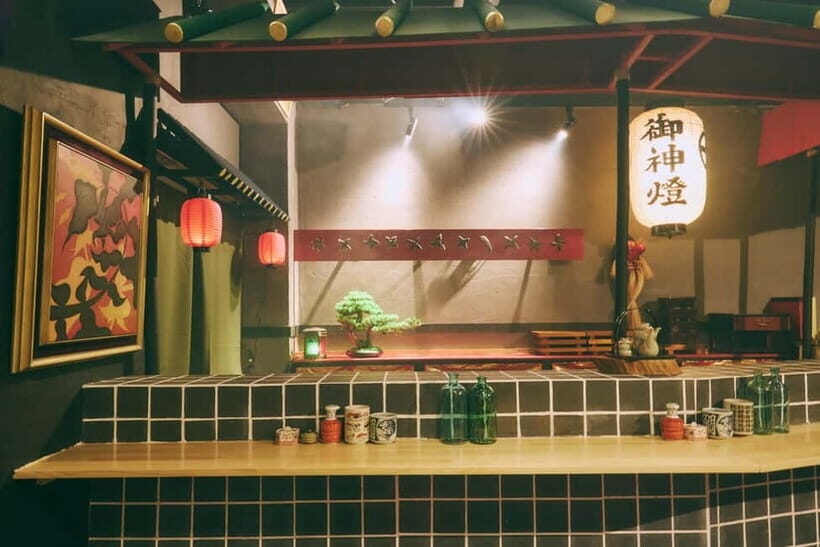
Because tin melts at 230 degrees, you might wonder about safety. The workshop is designed to be beginner-friendly with staff assistance, and the process includes supervision during key stages like melting and pouring.
You’ll also be wearing an apron (rental) and using tools provided by the studio. The overall message is that you’re working, but you’re working within a controlled setup.
A craft like this rewards patience. If you rush, you’ll feel it during shaping and polishing. If you slow down, you’ll get a cleaner finish.
English Support: Working Comfortably Across Languages
Instruction is available in English and Japanese. Reviews also point to staff being patient and clear during the process, and one name that shows up repeatedly is Daiki.
That matters if you’re nervous about technical steps. You’re not just following pictures—you’re getting guidance you can understand, including when you’re polishing, filing, or refining details.
What You Take Home: A 8–10 cm Metal Piece in a Box
Your finished weapon comes in a dedicated box. The size is about 8–10 cm, which is small enough to pack and sturdy enough to display.
This is one of the biggest reasons the workshop feels worth it. A good souvenir isn’t just cute—it’s tied to your time and effort. When you’ve done the casting and finishing yourself, it becomes a story object you’ll actually remember.
Photos and videos are allowed, too, so you can capture your work-in-progress and the final reveal.
Price and Value: Why $103 Makes Sense for a Real Workshop
Let’s talk money in a grounded way.
At $103 per person, you’re not just paying for a pass to watch. You’re paying for:
- Materials for one weapon
- Apron rental
- Equipment rental
- Guided step-by-step work
- Rust protection solution and protective oil
- A dedicated box for your finished piece
If you tried to buy a similar metal ninja item in a typical souvenir shop, you’d likely get something mass-produced. Here, you’re paying for the labor and the learning curve—plus the fact that you leave with something you made.
The value gets even better if you’re with a family. The experience is described as suitable for adults and for children with staff assistance, and it seems to be a frequent “birthday highlight” type of activity.
Who This Workshop Fits Best (and Who Might Skip It)
This is a strong fit if you want a hands-on Kyoto experience tied to Japanese craft skills. It’s also great for anyone who likes ninja culture, samurai-adjacent aesthetics, or just wants something different from temples and food tours.
It’s especially good if you:
- Want a souvenir with a process behind it
- Like making things with your hands
- Prefer structured instruction over open-ended arts
- Travel with kids old enough to focus with supervision
Age notes to keep in mind:
- Not suitable for children under 5, and babies under 1.
- People over 95 aren’t suitable.
- Participants under 15 must be accompanied by a guardian.
If you’re traveling with a very young child, you may want to sit this one out and choose a calmer activity nearby.
How to Prepare: Small Things That Make the Day Smoother
Based on the practical rules and experience format, here’s what you should do:
- Bring drinks, since there’s no water included (and you’ll be working for a couple hours).
- Wear comfortable clothes you don’t mind getting a little “studio” feeling.
- Plan a little buffer around the end time so you don’t rush to your next stop.
Since food and alcohol aren’t allowed, make sure you eat beforehand. This is best treated like an appointment with a craft lab, not a meal stop.
Also, take a moment to decide on your design when you book. If you can, pick the option that matches how you want the finished item to look—iconic shuriken versus more detailed kunai versus the bold oni mask.
Should You Book This Tin Casting Ninja Weapon Workshop?
If you want a Kyoto activity you’ll remember because you made something real, this is an easy yes. The combination of hands-on casting, clear step-by-step guidance, and a finished metal souvenir in a box is exactly the kind of experience that justifies itself.
Book it if:
- You like crafts, metalwork, or creative souvenirs
- You want a structured workshop with instruction in English/Japanese
- You’re okay following studio rules (no food/alcohol, no smoking, no fire)
Skip it if:
- You want a purely observational experience with no hands-on work
- You’re uncomfortable with heat-and-tools types of processes (even though supervision is part of the design)
- You need onsite drinking water or snacks to be provided (bring your own drinks)
If you’re planning a Kyoto day with travel time that matters, the 3-minute walk from Demachiyanagi Station makes it even more appealing. This is one of those activities that turns your time into a physical memento—small, metal, and unmistakably yours.
FAQ
What ninja items can I make in this workshop?
You can create a shuriken, a kunai, or an oni-inspired metal mask. The kunai and oni mask can be chosen as options for more detail.
How long does the workshop take?
Shuriken and kunai take about 2 hours. The oni mask takes about 2.5 hours, with completion times that can vary.
Where is the studio located?
The studio is about a 3-minute walk from Demachiyanagi Station in Kyoto.
Is the experience suitable for beginners?
Yes. The activity is described as suitable for beginners with staff assistance.
Can children participate?
Yes for children with staff assistance, but it’s not suitable for children under 5. Participants under 15 must be accompanied by a guardian.
What should I bring?
You should bring drinks. Food and alcohol aren’t allowed.
Is there a water break or water provided?
Drinks and water are not indicated as included, and it notes there is no water, so bringing drinks is a good idea.
What’s included in the price?
The experience includes design time, mold making, melting and casting, shaping by hammering, smoothing with a file, rust-preventive soaking, protective oil, and an apron and equipment rental. Materials for one weapon are included.
Do I get my weapon to take home?
Yes. Each weapon comes with a dedicated box, and you take home what you made.
Are there any restrictions during the workshop?
Smoking isn’t allowed (including indoors). Food, alcohol, and drugs aren’t allowed, and making fire is not allowed. Party groups aren’t allowed either.