REVIEW · KIMONO RENTAL & PHOTOSHOOT
Kyoto Kimono Professional Photoshoot
Book on GetYourGuide →Operated by Kyoto Kimono Rental Yumeyakata · Bookable on GetYourGuide
Kyoto looks better when you wear it like a local, even for a few hours. I love the contrast of a polished photoshoot with the very real texture of old Kyoto—wood beams, narrow lanes, and the quiet feel of historic neighborhoods. You’ll get help choosing a kimono at Yumeyakata Gojo Shop and direction from your professional photographer (like Yoshino, who’s known for giving clear pose tips). One drawback to plan for: you’ll need to handle logistics smoothly—there’s taxi time, and you must return the kimono by 5:30 PM.
What I like most is how hands-on it is. You’re not just dressed and sent away; you’re taught how to pose and even how to walk with the kimono so your photos look natural. The second big win is the setting options: a 100-year-old machiya townhouse for a calm, controlled session, or Higashiyama streets for outdoor light and classic Kyoto backdrops. The one thing I’d watch carefully is the photo count and timing, since some people report getting fewer images than expected or waiting longer than they were told.
In This Review
- Key Points to Know Before You Go
- Choosing Your Kyoto Backdrop: Machiya Townhouse or Higashiyama Streets
- From Yumeyakata Gojo Shop to Your Kimono: Selecting the Right Look
- Inside the 100-Year-Old Machiya: Poses, Props, and Fast Guidance
- Higashiyama Walk-and-Shoot: Let the Photographer Handle the Best Spots
- After the Photoshoot: Wearing Your Kimono Around Kyoto
- Value for Money: What You Get in Images, and What Add-Ons Change
- How the Shoot Works Day-of: Timing, Taxi Rides, and Movement Tips
- Practical Tips Before Booking: Make It Easy on Yourself
- Who Should Book, and Who Might Want to Skip It
- Should You Book Kyoto Kimono Professional Photoshoot?
- FAQ
- How long is the photoshoot?
- Where do I choose my kimono?
- Do I get a kimono to wear after the shoot?
- How many edited photos do I receive?
- When will I get the edited photos by email?
- What help do I get with posing?
- How do I get between the shop and the shoot location?
Key Points to Know Before You Go
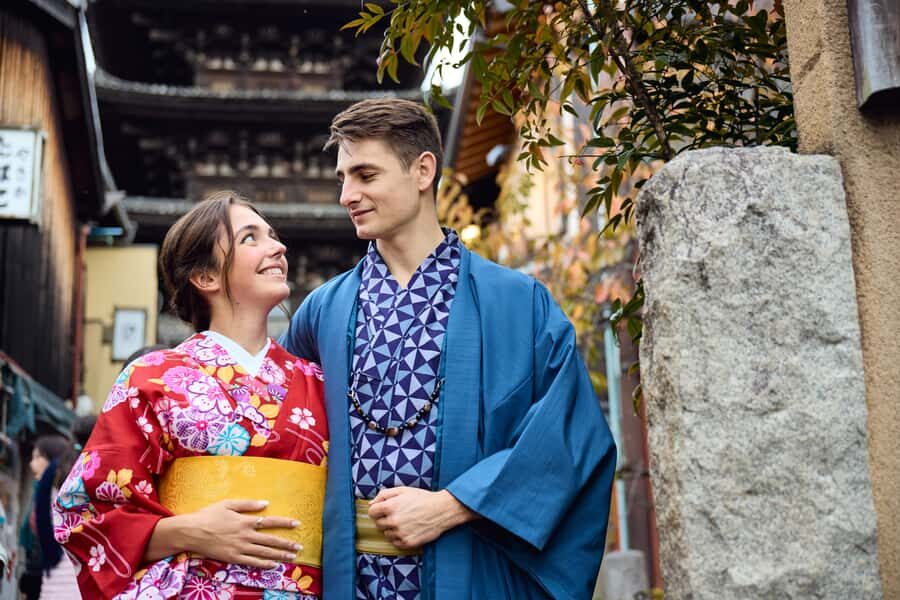
- Two very different backdrops: a 100-year-old machiya townhouse or scenic Higashiyama lanes
- Yumeyakata Gojo Shop kimono selection at your reserved time (colors, designs, sizes)
- Guided posing with real props, including an umbrella for the townhouse option
- Professional direction that focuses on how to move in kimono, not just where to stand
- A kimono you can wear after the shoot, with a return deadline of 5:30 PM
- Digital photo delivery by email (usually 3–7 days), with options to extend for more images
Choosing Your Kyoto Backdrop: Machiya Townhouse or Higashiyama Streets
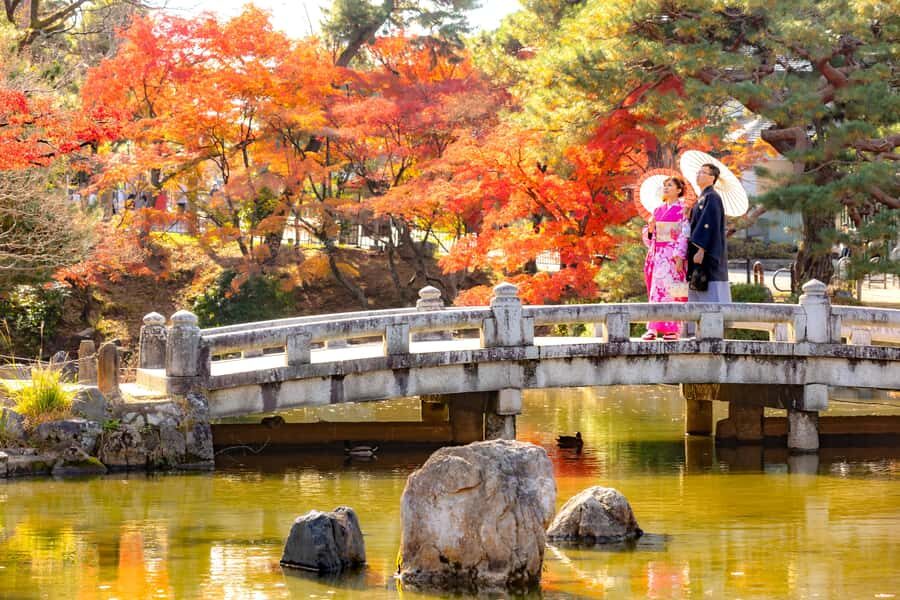
This experience has two moods, and picking the right one changes the whole feel of your photos.
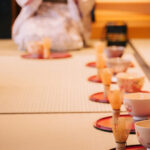
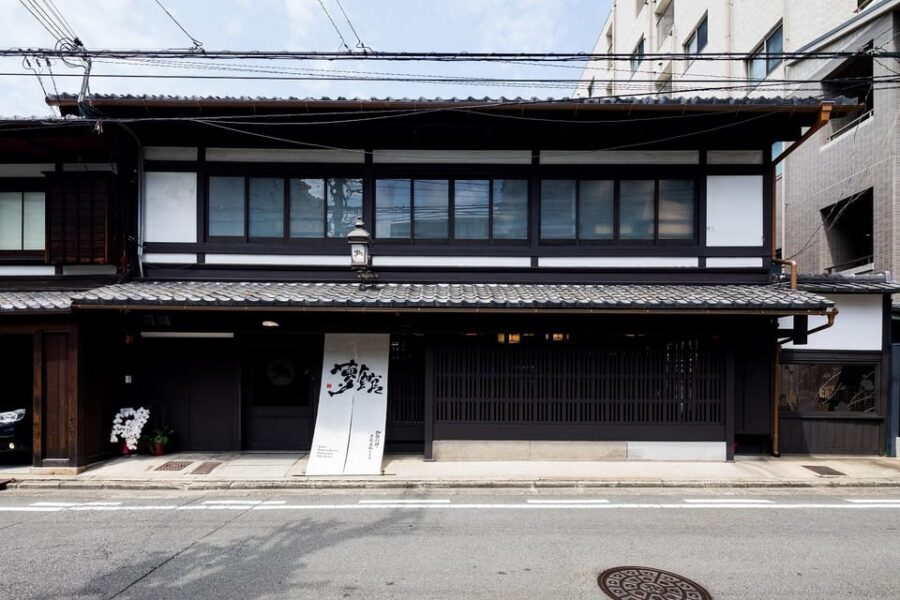
The 100-year-old traditional townhouse option is calmer and more “storybook Kyoto.” You dress at Yumeyakata Gojo Shop, then take a taxi (about 1,600 yen per taxi) to the machiya townhouse (Oike Bettei). Once you arrive, the shoot starts right away, with roughly 30 minutes inside a historic home. It’s ideal if you want more control over lighting and a classic indoor look.
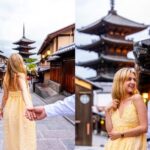
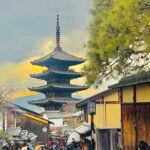
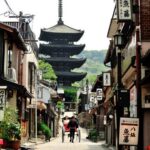
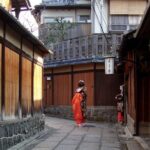
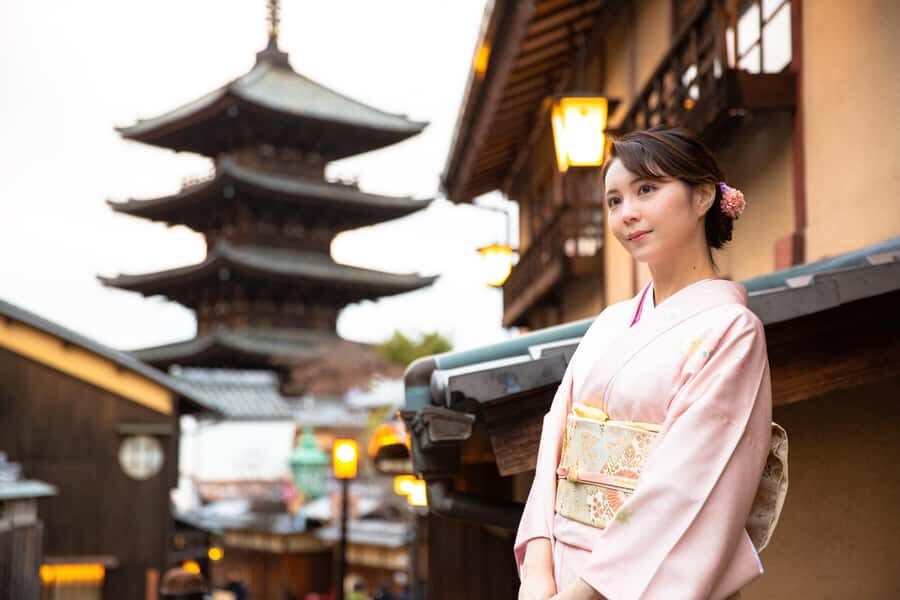
The Higashiyama option is more about Kyoto outdoors—traditional wooden lanes, pagodas, and temples around you. After dressing, you take a taxi and your photographer goes with you so you don’t have to navigate while in costume. Expect a more “walking” flow, with the photographer guiding you through some of the most charming spots and using natural light to shape the photos.
My practical take: if you hate crowds or you want photos that feel timeless, choose the townhouse. If you want that postcard Kyoto stroll with your kimono, choose Higashiyama.
You can also read our reviews of more photography tours in Kyoto
From Yumeyakata Gojo Shop to Your Kimono: Selecting the Right Look
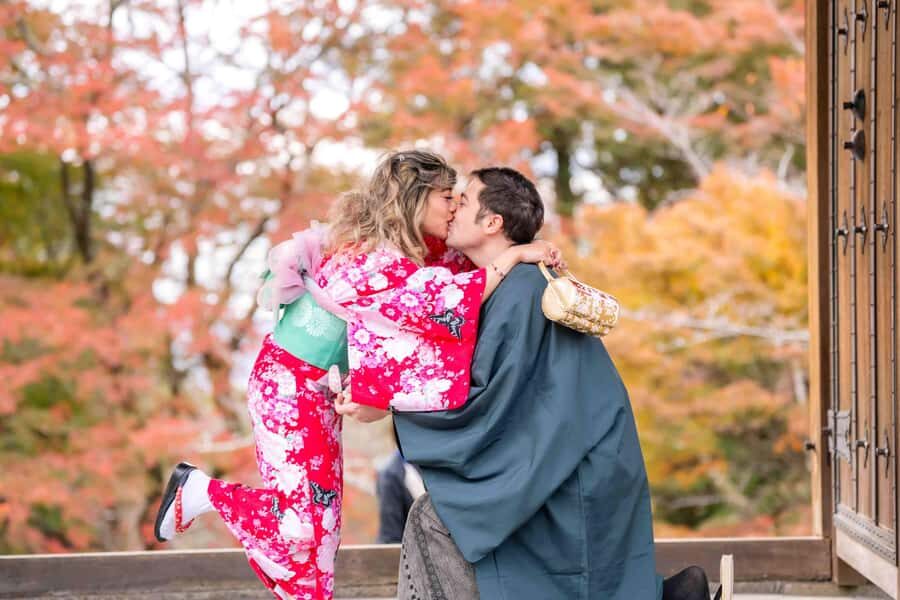
Before any photos happen, you start at the Yumeyakata Gojo Shop in Kyoto at your reserved time. This is where you select your kimono, and it matters more than it sounds. A good fit and the right color are huge for photos, especially when you’ll also be walking around afterward.
You’ll choose from a range of colors and designs, including different sizes. The basic package includes a casual kimono rental, and you do not dress yourself. That’s a real time-saver in Kyoto, where even small delays can throw off your schedule.
If you want to level up the look, there are add-ons for ladies:
- hair styling
- makeup
- upgrading to a more formal kimono style, such as Houmongi, Furisode, or Montsuki Hakama
A couple of details that can affect your final look: some extras like decoration items (available on the spot) and options like fake eyelashes or customized hairstyling come with additional fees. If you’re the type who wants a specific glam level, I’d decide ahead of time what you really want, then confirm costs on site.
Inside the 100-Year-Old Machiya: Poses, Props, and Fast Guidance
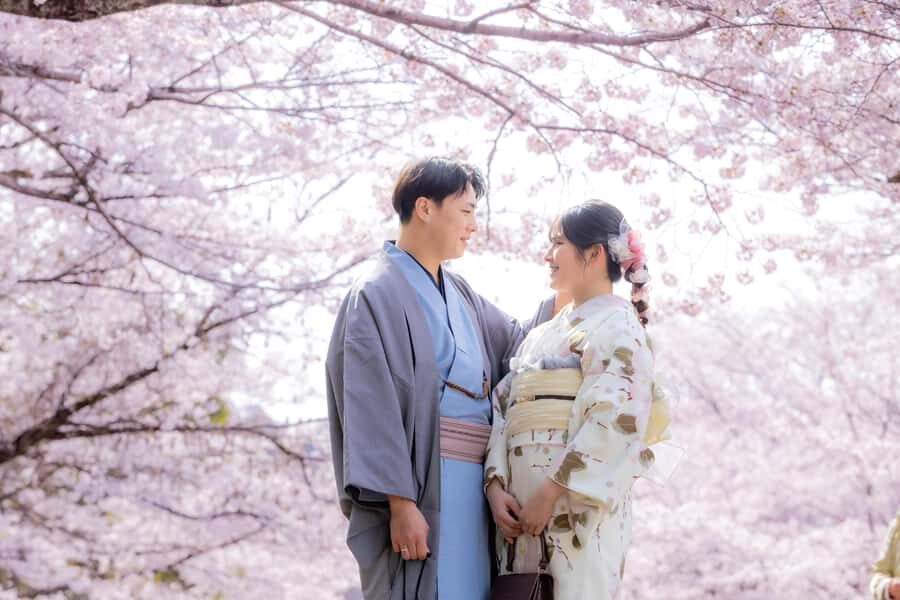
If you choose the townhouse option, your day becomes very focused: dress, taxi, shoot. After you arrive at the traditional machiya townhouse, the photographer starts working with you immediately.
You spend about 30 minutes in the house, which is exactly enough time for multiple pose styles without turning into a long, tiring marathon. This is a big deal in kimono. Fabric and movement are different, and you’re likely to feel it in your legs if you overdo it.
Here’s what makes the townhouse session work so well:
- The photographer guides you on authentic kimono poses
- Props like a Japanese umbrella are used to add variety and keep photos from looking repetitive
- The setting is naturally photogenic, with that old-house texture you can’t fake with a random background
The result is a set of images that feel intentional. You’re not just standing in front of a doorframe. You’re doing poses that match the clothes and the mood of a traditional Kyoto home.
One practical consideration: you’re taking a taxi between locations. If your Kyoto day is already tight, schedule it like a mini “appointment block,” not something you squeeze between long walks.
Higashiyama Walk-and-Shoot: Let the Photographer Handle the Best Spots
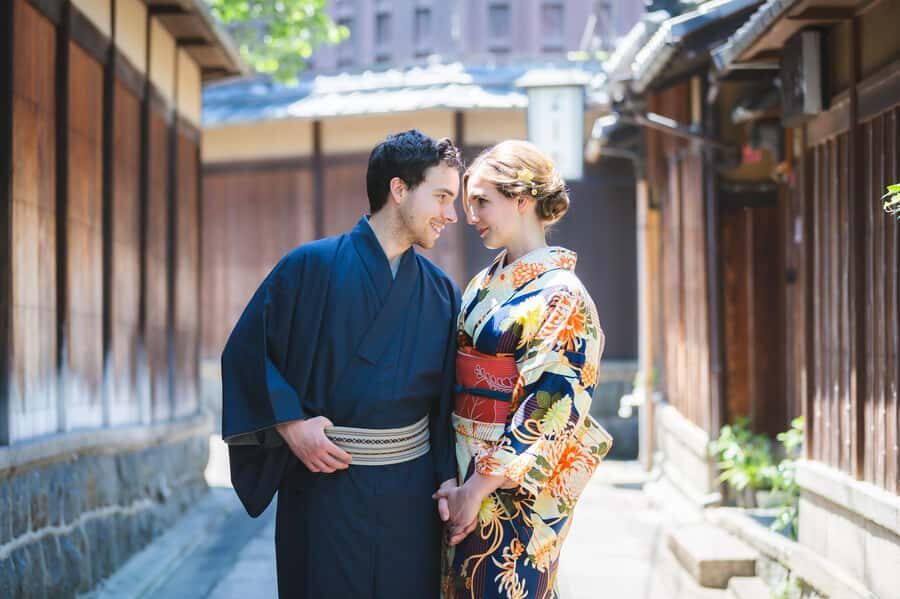
The Higashiyama option shifts from an indoor, controlled shoot to an outdoor, light-driven one. The big advantage is that your photographer goes with you, so you’re not trying to find the perfect corners while dressed in kimono.
Once you’re dressed and in transit, your shoot begins on arrival. You’ll be guided through some of the most charming traditional areas, with the photographer capturing you in places that fit kimono style—wooden lanes, temples, and classic Kyoto sightlines.
Because you’re outside, the flow feels more natural:
- you pose in short bursts
- you move between spots
- you let the light and scenery do part of the work
My tip: if you’re choosing Higashiyama, plan your afternoon walk afterward. The kimono is part of the experience, so the best photos often happen when you continue your stroll right after the shoot.
After the Photoshoot: Wearing Your Kimono Around Kyoto
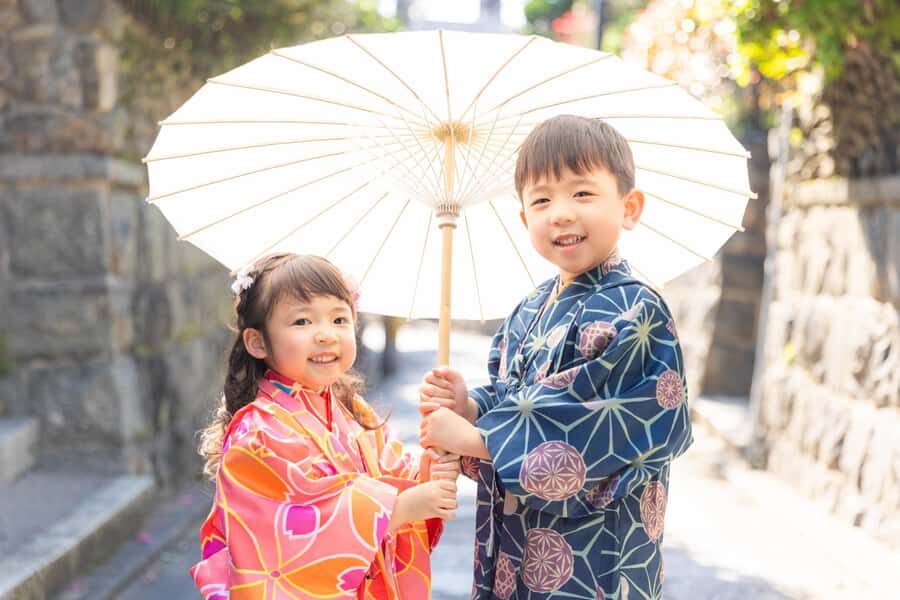
One of the best parts of this experience is that you don’t just get a photo session—you get a costume you can actually use.
After the shoot, you’re free to wear your kimono and stroll around Kyoto. That’s where you’ll feel the real value: you’re not only walking to a photo spot for 30 minutes. You get time to experience Kyoto in the outfit, and you can take your own casual snaps too (even though the pro photos are the main event).
Two timing notes matter:
- You need to return your kimono to the Gojo shop by 5:30 PM
- Your edited photos are emailed about 3–7 days after the shoot
Also, while you’re wearing kimono, be mindful of the rules: pets aren’t allowed, smoking isn’t allowed (including indoors), and strong fragrances are also a no. Food and drinks are not allowed during the experience as stated, so plan around that.

Value for Money: What You Get in Images, and What Add-Ons Change
The pricing is listed as $124 per group up to 1, which makes it important to understand what your package includes.
Here’s the image breakdown you should pay attention to:
- The base includes 50 images in digital form
- Some promotional text mentions 100 or more digital photos
- There’s also an option for a 30-minute shoot extension that adds 50 more digital images
So if you want that “100+ photos” outcome, the extension is the lever. If you don’t add it, you should expect 50 edited images.
That’s why I recommend you confirm the exact number you’ll receive before your shoot starts. One real-world concern is that a small number of people report receiving fewer photos than they expected, or waiting longer than the 3–7 day window. You can’t control every delay, but you can protect yourself by verifying:
- the standard image count for your chosen option
- whether you’re doing the extension
- when the email delivery is expected
Add-ons can also affect overall value. Upgrading to formal styles, adding hair styling, makeup, or accessories can make the photos feel more like a special occasion. But if you’re on a budget, a casual kimono plus strong posing and good photo timing can still look fantastic.
How the Shoot Works Day-of: Timing, Taxi Rides, and Movement Tips
Your schedule has a few fixed points, and that helps you plan your day.
The flow looks like this:
- Arrive at Yumeyakata Gojo Shop at your reserved time and choose your kimono
- Get dressed by the shop staff
- If doing the townhouse: taxi to the machiya (about 1,600 yen)
- If doing Higashiyama: taxi to the district, with your photographer accompanying you
- Photos begin right away on arrival
- About 30 minutes for the shoot, with extension possible
- Then you wear the kimono afterward, and return it by 5:30 PM
One thing to remember: learning how to move in kimono is part of the experience. You’ll get guidance on posing, and you’ll also be coached on how to walk. Even if you’re not used to wearing kimono, your photographer’s job is to make your movement look right in photos. Listen to that coaching. It will show.
Practical comfort advice: bring a little patience for the fit. Your clothes will feel different on your body, and you’ll adapt faster if you focus on small steps and relaxed posture. If you’re tense, your photos may show it.
Practical Tips Before Booking: Make It Easy on Yourself
A photoshoot is only as good as your day around it. Here are the things I’d handle early:
- Pick your option based on energy: townhouse for calm and controlled shots; Higashiyama for outdoor Kyoto and walking time
- Decide your photo goals: base includes 50 images, extension adds 50 more
- Plan for taxi time: the route between Gojo Shop and the shoot location uses taxis (about 1,600 yen per taxi)
- Set your afternoon around the 5:30 PM return: don’t book a hard-to-reach event too late
- Confirm your photographer and language support: languages listed are Japanese and English, so if you want certain directions, ask clearly
- Think about extra styling only if it matches your goal: formal kimono upgrades and makeup/hair add-ons can be worth it if you want a more ceremonial look
And because edited photo delivery is part of the product, I’d also confirm the expected email timeline right when you start. That way, if you’re traveling again right after Kyoto, you’ll know when to expect the files.
Who Should Book, and Who Might Want to Skip It
This is a great pick if you want:
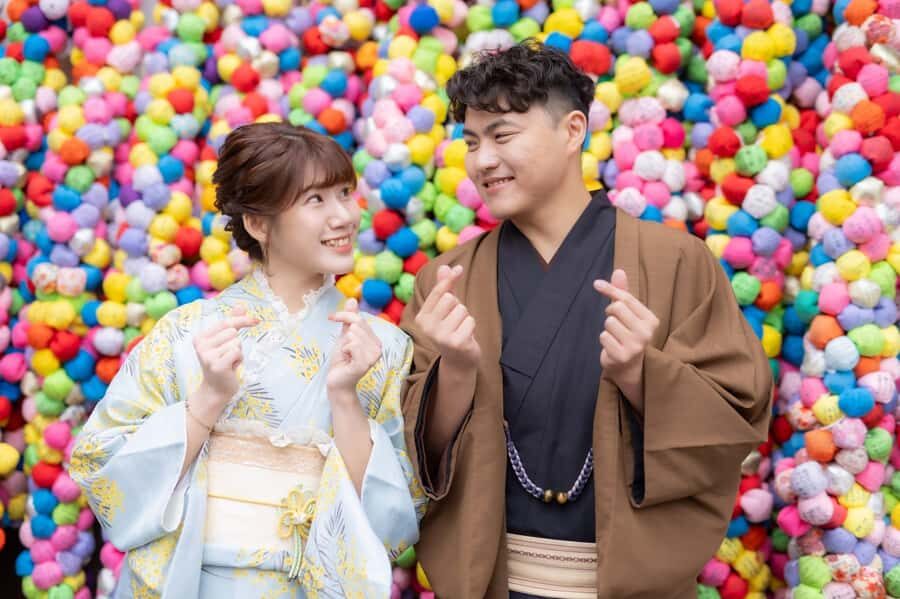
- a structured, guided kimono experience
- professional photos you can keep long after your Kyoto trip
- the chance to wear kimono afterward (not just during the shoot)
It may be a tough fit if you have mobility concerns. The experience is not suitable for:
- pregnant women
- people with mobility impairments
- wheelchair users
- people over 6 ft 6 in (200 cm)
- people over 209 lbs (95 kg)
If you’re unsure, don’t guess. The listed limits and unsuitability are pretty clear, and kimono can require easy standing and movement.
Should You Book Kyoto Kimono Professional Photoshoot?
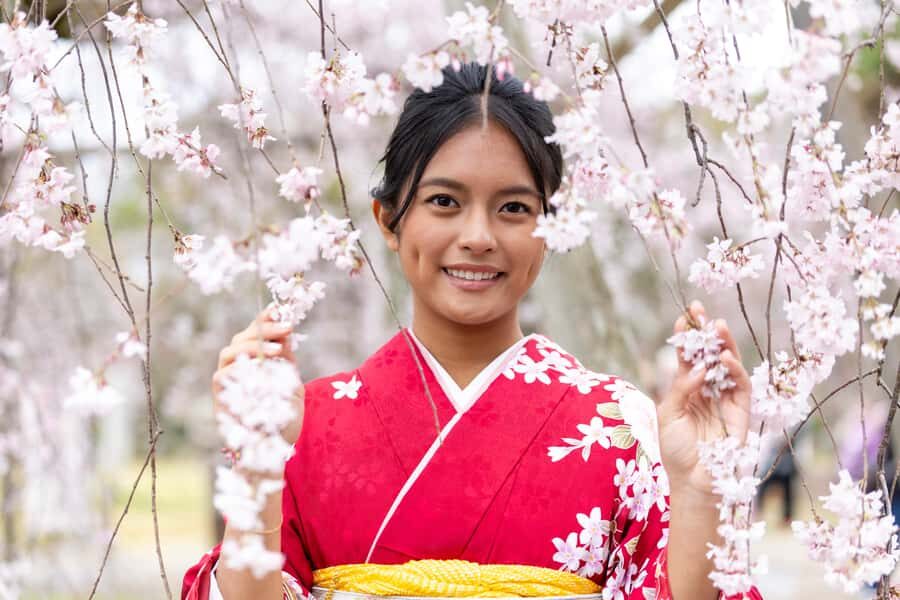
Yes, I’d book it if you want a guided way to look like you belong in Kyoto. The combination of kimono dressing at Yumeyakata Gojo Shop, a professional photographer directing poses (including prop use in the townhouse option), and the chance to wear kimono after makes the value feel real, not just photo-product marketing.
I’d hesitate only if you’re very sensitive to schedule changes or you need a guaranteed photo turnaround and exact photo count. To reduce stress, confirm your image number (base vs extension) and when the edited files will be delivered.
If you can plan your timing, and you’re excited to move in kimono for a short, coached session, this is one of those Kyoto activities that gives you both photos and a memorable way to experience the city.
FAQ
How long is the photoshoot?
The base photoshoot is about 30 minutes.
Where do I choose my kimono?
You choose your kimono at Yumeyakata Gojo Shop in Kyoto at your reserved time.
Do I get a kimono to wear after the shoot?
Yes. After the photoshoot, you can wear the kimono and stroll around Kyoto. You must return it to the Gojo shop by 5:30 PM.
How many edited photos do I receive?
The included package lists 50 images in digital form. There is also a 30-minute shoot extension that adds 50 extra digital images.
When will I get the edited photos by email?
Edited photos are sent by email approximately 3–7 days after the photoshoot.
What help do I get with posing?
A professional photographer guides your poses and walk style in kimono. In the townhouse option, props like a Japanese umbrella are used.
How do I get between the shop and the shoot location?
Transportation between the Gojo Shop and the townhouse is not included, and the taxi fare is about 1,600 yen per taxi. For the Higashiyama option, the photographer goes with you after dressing.